How to choose the right projection mapping projector?
Are you thinking of getting a projector to get into projection mapping? Awesome! This guide will tell you everything you need to know to pick the right equipment according to your needs.

How to choose the right projection mapping projector?
The first question you should ask yourself is this one: where are you planning on using your projector? Your options include small spaces such as bars or small music venues, larger public spaces such as clubs and festivals, or outdoors for a more monumental projection.
To choose the right video projector, you need to be aware of the limitations linked to the location itself. Another thing to consider is, of course, your own budget. While it is technically possible to do video mapping using most video projectors on the market, our tips will allow you to make an informed choice by getting a better understanding of your future projector’s features.
This guide is composed of several parts:
This guide also aims to explain the basics of projection. However, know that we are always available to help you and answer any questions you might have regarding your project. We are happy to recommend the best projector according to your needs.
Key factors to consider
Light conditions
The light level of the area where your mapping is supposed to take place is a fundamental factor, as light conditions play a significant role regarding the quality of the projected image.
Direct light on the projection surface needs to be avoided at all costs, whether it is natural or artificial, as it would fade the image, even with strong contrast levels.
Therefore, you should pick a fairly dark environment without direct light coming to your projection area.
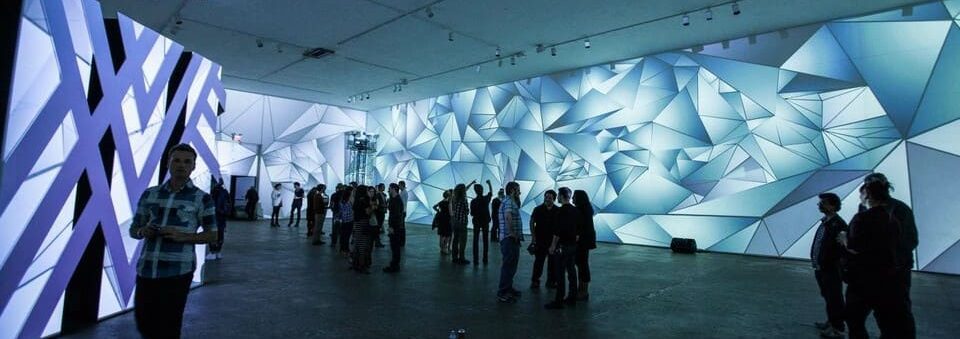
Image size and throw ratio
Image size and projection distance are linked by a very simple mathematical formula:

This throw ratio is linked to each type of video projector. It is a number that falls between 0,3 and 12. The bigger this number, the longer the throw distance. Thanks to this formula and by knowing two parameters, you can easily find out what the third parameter is. Let’s take a look at a couple of examples below
Example 1: What video projector should I choose depending on a specific configuration?
“I would like my projected image to be 3 meters wide and my maximum throw distance is 4 meters. Therefore, I need to find out what the best ratio is to be able to pick the right projector. Here: throw ratio = 4/3 = 1.33
This means my projector needs to have a throw ratio of around 1.3.“.
Example 2: How can I find out what the possible image size is, depending on my video projector and a known throw distance?
“My throw distance is 4 meters and my projector’s ratio is 0.8. I would like to know what size my image could be once projected.
Here: 0.8 = 4/image width, so image width = 4/0.8 = 5.
This means my image can be up to 5 meters wide”.
This formula is the key to a successful video mapping project!
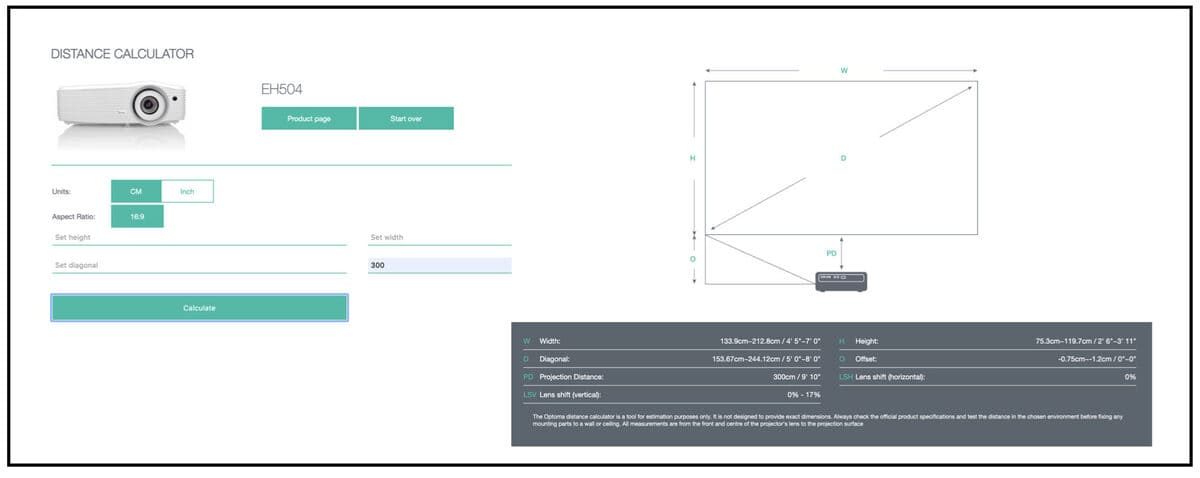
If you want to go further, our partner Optoma, a video projector manufacturer, has created a very precise calculating tool for all of their projectors. This will help you plan your video mappings ahead and will also help you save time.
Material of your projection surface
The material of your projection surface is also a crucial factor to consider. You should pick a light-colored surface and pick matt materials to reduce light reflection. If you end up using a shinier surface, the image quality will decrease, and you might see your projector’s light reflection. This should be avoided to ensure better results.
Tip: If using a video projector with a short focal distance (with a throw ratio below 0.5), we recommend avoiding flexible projection surfaces, such as fabric. This is because even a slight movement of the projection surface might distort your image.
We advise you to try for free HeavyM, our projection mapping software. It takes only a few minutes to create mind-blowing mapping projects.
Find our selection of projection mapping projectors models at the end of the article
Features of a projection mapping projector
Luminosity
Luminosity describes the amount of light a video projector puts out. It is measured in lumens. A high number of lumens means a projector is more powerful. As mentioned previously, powerfulness itself isn’t enough. You also need to take all the constraints of a specific project into account, as these might reduce a projector’s objective powerfulness, such as the light levels of a location, the expected image size and the material of the projection surface.
Note: video mapping should happen in dark locations or at night. It is impossible to do video mapping in broad daylight, even with 20 000 lumens 🙂

Contrast ratio
Contrast levels are linked to the luminosity difference between white and black (absence of color). No video projector is able to project perfect black—this color is usually replaced with a very dark grey.
Contrast is described by a ratio, such as 500:1. The bigger the difference between both numbers, the better the contrast. Therefore, 1,000:1 provides better contrast levels than 500:1.
Note that a good contrast ratio isn’t everything as a location’s light levels can influence it. If a room is very bright, the projected image will be faded, even with a 20,000:1 contrast ratio.
Resolution
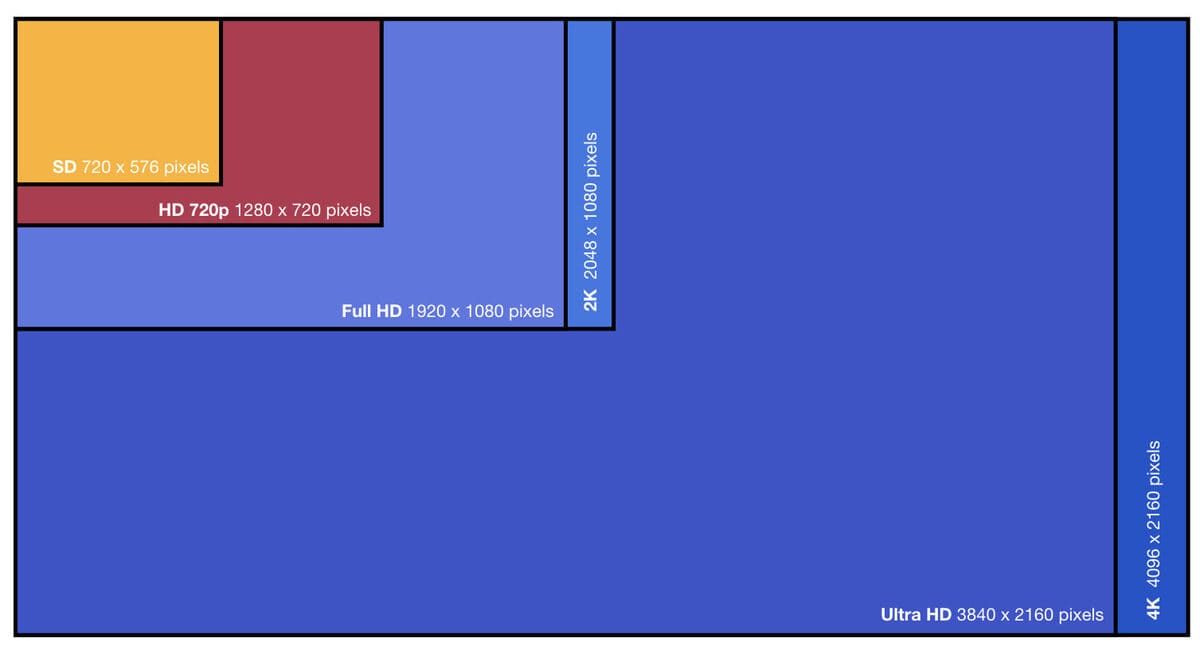
A projector’s resolution is the number of pixels, from side to side and top to bottom, which makes up your projected image. A high number of pixels means the image will be more precise. A low number of pixels means it will be harder for the naked eye to distinguish them.
A projector’s resolution should be as close as possible as the image’s. If you wish to project full HD content (1080p), this means your projector also needs full HD resolution. If you use a projector that is more powerful (4K, for example), this will lead to a disappointing result.
For clear results, we recommend you use images and a video projector that has a resolution of at least 720p (HD).
You should also note that, regardless of the resolution, non-smooth surfaces can make pixels look bigger and, thus, more visible. You should always try to find the best placement for your projection mapping projector to avoid distorting the image.
Lifespan of the equipment
Historically-speaking, the light sources of video projectors are basically lamps. This is a very fragile part and luminosity tends to decrease over time. Once it has been used for a certain amount of time, a video projector becomes less powerful. This might require replacing its light source, which costs about 30% of a new projector’s price. Most manufacturers can guarantee 1,000-4,000 hours of use, which equals over a year if the projector is being used for 8 hours a day.
Laser and LED projectors are currently competing against projectors with lamps as they offer even better image quality.
LED projectors
LED projectors offer an exceptional life span for weaker levels of luminosity (below 3,000 lumens), as they can be used for 10,000-20,000 hours on average, which is almost 5 times more than projectors with lamps. If they are used for 2 hours a day, this means they can be used for 14-27 years! Moreover, these models are lighter and smaller than those with regular lamps
Laser projectors
Just like LED projectors, these models have an extremely long lifespan that can go up to 20,000 hours. Like regular projectors with lamps, laser video projectors also offer higher luminosity levels (over 6,000 lumens) but don’t require changing the lamp after a certain time.
Note that there are also several projection technologies. The most common ones include DLP, 3-DLP, LCD, and 3-LCD.
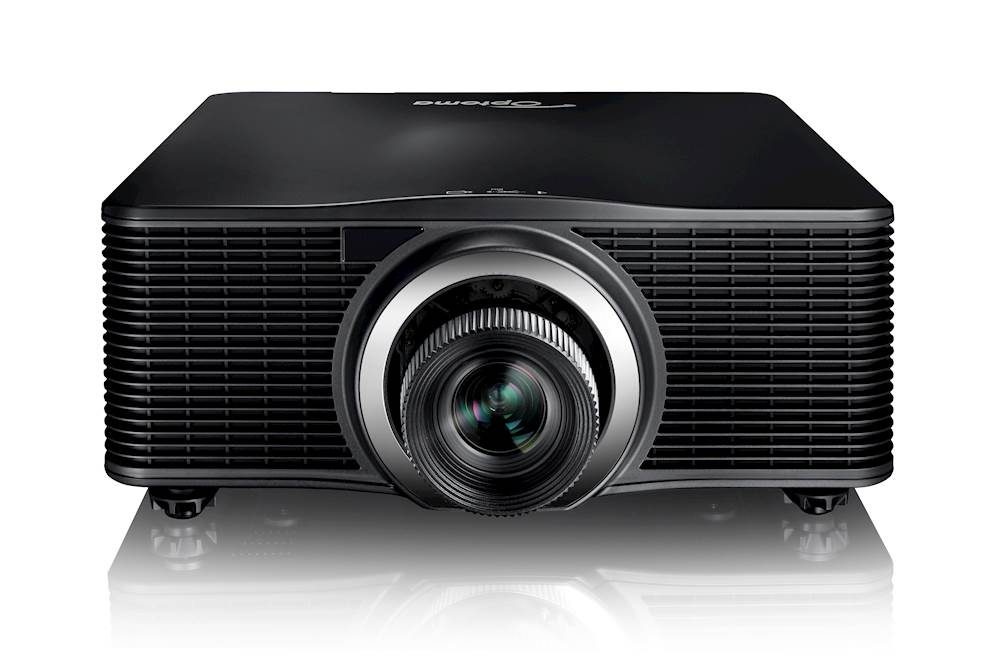
Picking a projector among a range of similar models can sometimes be tricky, but we’re here to help! Just tell us about your project and we’ll get back to you as soon as possible.
Recommendations of use
Cables and connections
Our projection mapping software, HeavyM, is compatible with all VGA, DVI, DisplayPort, and HDMI video projectors.
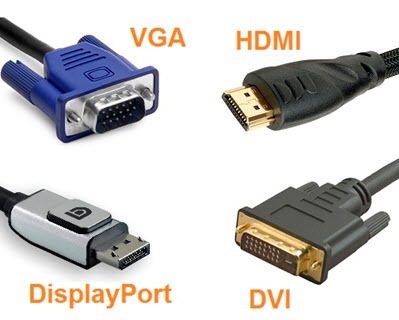
Generally speaking, the projection quality will also depend on the quality of the cable. HDMI and DVI are called “digital” connections and allow for better image resolution. On the other hand, a VGA cable is less expensive, but the image quality will be lower.
One important thing is to know how long the cable should be: using very long cables (longer than 10-20 meters) might result in lower-quality projection because the signal will be weaker. To avoid this, you can use repeaters to boost the signal.
Either way, we recommend using shielded cables.
If possible, we also recommend configuring your video mapping in the same conditions as your projection’s. That means placing your computer and your projector(s) in their final position.
Transport and Precautions
You should always wait until your projector has cooled down completely before unplugging it, moving it and putting it away. Know that sudden power failures can also damage your projector’s lamp.
If you are using an LED or laser projector, waiting for your equipment to cool down isn’t necessary, but we still recommend you take good care of your projector.
Multi-video projection
Make sure your computer is compatible with higher resolutions (this depends on the maximum resolution of its graphics card) and that you can connect it to several video projectors using one video output: GB200, Matrox Triplehead…
Image Repetition Frequency
The image repetition frequency is measured in Hertz (Hz) and has a usual range of 50 or 60 Hz. This frequency does not impact a projection mapping’s performance and does not need to be taken into account when choosing a video projector.
However, it does matter if your projection mapping is going to be filmed. Otherwise, vertical scan lines might appear as there might be differences between the image that is being projected and the image that is being captured by the camera. To avoid this, you can change the image repetition frequency in the display settings of your computer’s operating system or adapt the recording settings of your camera.
Our Curated Selection of Projection Mapping Projectors
Over the years, we have extensively used video projectors from leading manufacturers such as Optoma and Epson. We are thoroughly impressed with the quality and performance these brands offer for our video mapping projects. Both brands have consistently delivered, and we are confident in recommending them to our users. They provide a diverse array of models catering to various needs and budgets.

Choosing the right projector from a plethora of options can be daunting. But worry not, we’re here to guide you! We’ve handpicked a selection of projectors from both Optoma and Epson, categorized for different uses and price points. Dive in and find the perfect fit for your needs!
Standard lens projectors
As a reminder, projectors with a “standard” focal length have a projection ratio greater than 1. For example, a projector with a ratio of 1.3 placed at a distance of 5 m will cover a projection surface the size of 5/1.3 = 3.8 m long.
🇺🇸 USA
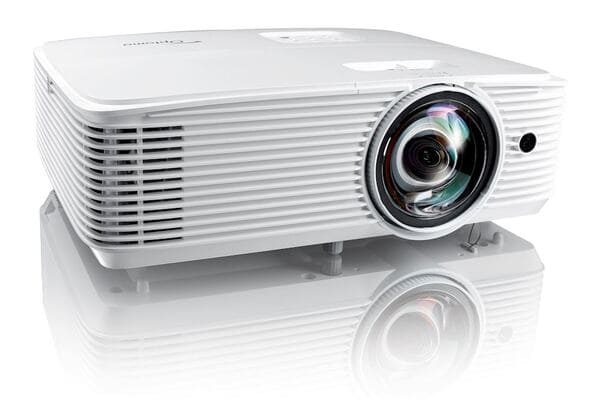
Optoma zk1050
- Source: Laser DuraCore MultiColor
- Brightness: 10.000 lumens
- Resolution: UHD 3840×2160 px
- Lens ratio: Standard 1.2 -1.9
- Contrast: 2.000.000:1
- Price: Around 20.000€/$ tax excl.


Optoma zk1050
- Source: Laser DuraCore MultiColor
- Brightness: 10.000 lumens
- Resolution: UHD 3840×2160 px
- Lens ratio: Standard 1.2 -1.9
- Contrast: 2.000.000:1
- Price: Around 20.000€/$ tax excl.


Optoma zk1050
- Source: Laser DuraCore MultiColor
- Brightness: 10.000 lumens
- Resolution: UHD 3840×2160 px
- Lens ratio: Standard 1.2 -1.9
- Contrast: 2.000.000:1
- Price: Around 20.000€/$ tax excl.
🇫🇷 France


Optoma HD28e
- Source: Lamp
- Brightness: 3.800 lumens
- Resolution: Full HD 1920×180 px
- Lens ratio: Standard 1.47 -1.62
- Contrast: 30 000 :1
- Price: Around 650€


Optoma HZ40
- Source: Laser
- Brightness: 4.000 lumens
- Resolution: Full HD 1920×1080 px
- Lens ratio: Standard 1.21-1.59
- Contrast: 2.000.000:1
- Price: Around 1300€


Optoma zk1050
- Source: Laser DuraCore MultiColor
- Brightness: 10.000 lumens
- Resolution: UHD 3840×2160 px
- Lens ratio: Standard 1.2 -1.9
- Contrast: 2.000.000:1
- Price: Around 20.000€/$ tax excl.
If you hesitate or are not sure of your choice we’re here to help! Just tell us about your project and we’ll get back to you as soon as possible.
Learn more about computers
We have created a detailed guide to choosing the right computers for your needs. Discover our tips and mistakes to avoid in this guide that explains the different features step by step.
Explore the HeavyM software
HeavyM is a video mapping software that is capable of generating visual effects and projecting them on volumes, decorations or architectural elements. HeavyM is Mac and Windows compatible.
