How to choose your Projection Mapper
Are you curious about projection mapping but don’t know where to start? I get it. When I first discovered this technique, I was both amazed and intimidated. But don’t worry, I’m here to guide you and help you identify the right projection mapper.
Projection mapping is an incredible way to transform any surface into a dynamic visual display, with the help of the right projection mapper. Whether you’re an artist, a DJ, or just someone who loves technology, projection mapping opens up a world of creative possibilities. Ready to dive in?
What Projection Mapper for Projection Mapping?
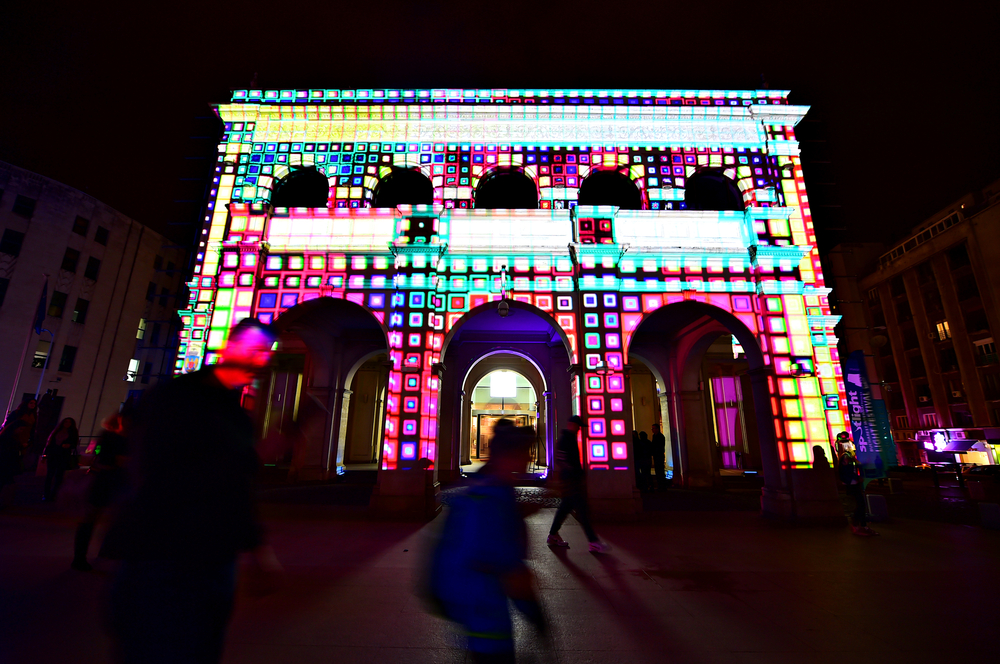
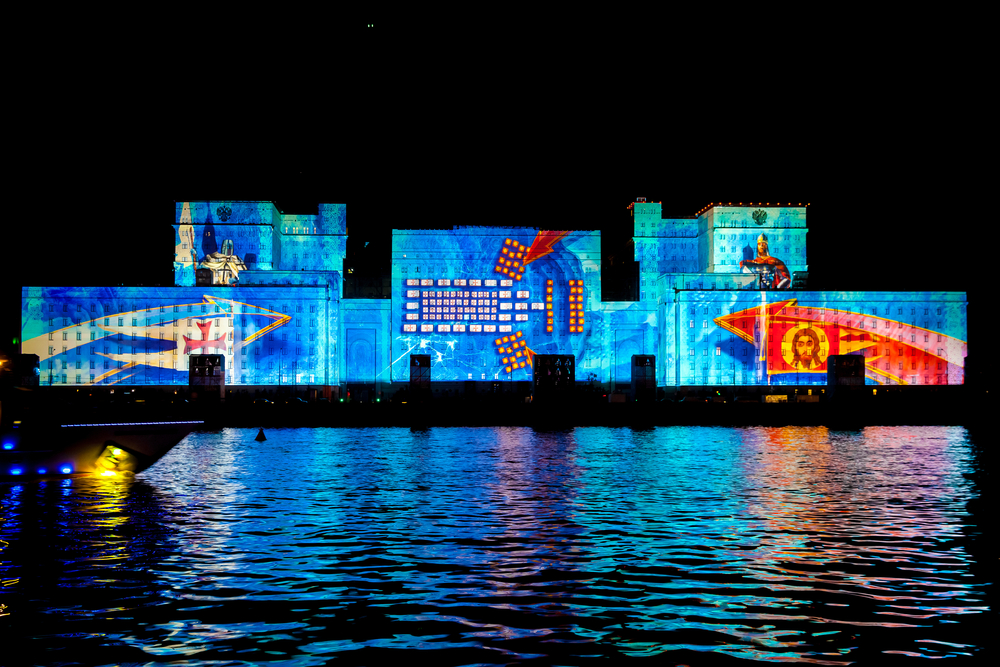
Projection mapping is a video projection technique that turns ordinary objects into stunning displays using a projection mapper. It could be buildings, stages, even water. Imagine a giant canvas, but instead of being flat, it conforms to the shapes and textures of the surface. That’s the magic of projection mapping. With the right projection mapper, you can even make these images interactive. Pretty cool, right?
The Illustrated History of Projection Mapping
You’ve probably seen projection mapping without even realizing it. It’s been used on landmarks as famous as Buckingham Palace and the Sydney Opera House. In fact, the concept has been around for over 50 years. But it’s still relatively rare due to cost and complexity. Yet when done well, the effect is striking and unforgettable. Check out this amazing timeline that traces the illustrated history of projection mapping. You’ll be amazed.
Brightness Calculator for Projection Mapping
One of the challenges of projection mapping is having a bright and clear image, especially outdoors. Because the surface is rarely a perfect screen. Fortunately, some clever folks have created a brightness calculator specifically for projection mapping. You enter the details about your projector and the size of the area to cover, and boom, it tells you if it’ll work or not. Well, it’s still in beta, but it’s already pretty handy. Especially to avoid unpleasant surprises on the big day.
Top Projection Mapper
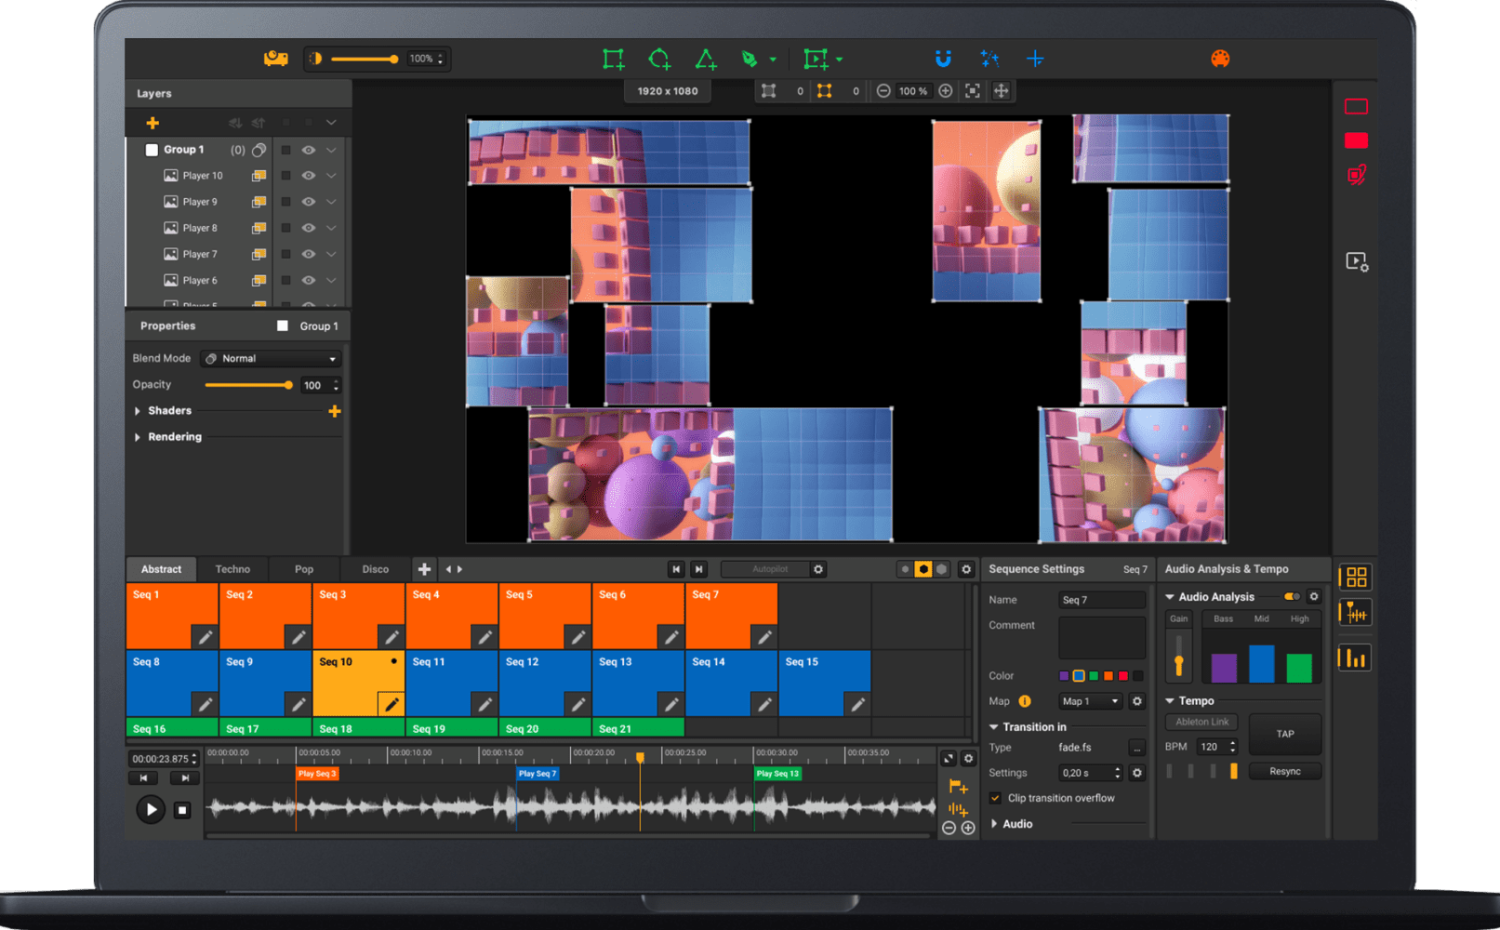
Okay, you’re convinced, you want to get into projection mapping. But where to start? First off, you need good software. It’s what will allow you to “map” your images onto objects, deform them to fit the volumes, manage animations and effects… In short, it’s your best friend. So you might as well choose wisely.
HeavyM
HeavyM is like the Rolls-Royce of projection mapping software. Extremely comprehensive, with a user-friendly interface, it’s perfect for creating shows in just a few clicks. The extra bonus? Its library of integrated content. A real time-saver. Among the pros, Resolume Arena is a favorite. It’s a super powerful software that handles video, audio, and lights equally well. With it, you can create amazing multimedia shows. Though it requires a bit of learning. But once you’ve got the hang of it, the sky’s the limit.
TouchDesigner
If you’re a geek and you love tinkering, TouchDesigner is made for you. It’s a highly flexible visual development tool. In practical terms, it means you can create your own mapping tools or add real-time interactions. In short, the possibilities are nearly limitless.
Mapping Matter
The newest kid on the block is Mapping Matter. Developed by enthusiasts, it’s software dedicated to simulation of projection mapping and incredibly easy to get started with. With it, you can quickly simulate the rendering of your images or videos on any surface.
Find the Right Projection Mapper
Now, with all that, you might be thinking: “Great, but which one do I choose?” Well, it depends on your needs, your level, and your budget. But here are some tips to help you see more clearly. First of all, think about how you want to use it. Are you looking for small, intimate installations or big shows at festivals? Just simple projection or mind-blowing interactive stuff? Then, look at your gear. Certain projection mappers only work with certain projectors or graphics cards. So check compatibility carefully. Finally, be honest about your level. If you’re a beginner, start with something simple. You can always step up later.
Hardware Compatibility of Your Projection Mapper
I’ll say it again, it’s crucial: before buying a projection mapper, make sure it’s compatible with your hardware. It could be the type of projector (LCD, DLP…), but also its video inputs (HDMI, VGA…), the resolution it supports, etc. Same for your computer: processor, graphics card, memory… Everything matters. So don’t skimp; for a good projection mapping setup, it’s worth investing.
When you dive into adding LED lights and walls to your stage setup, keep in mind the size of your display, how clear those LEDs need to be, and what kind of content you’re aiming to throw up there. Work with experienced technicians to ensure that your LED elements are properly installed and integrated with the rest of your stage design.
Ease of Use
We sometimes forget, but ease of use is paramount. Especially if you’re just starting out. So take the time to test the interface, watch tutorials, see if it seems manageable. A projection mapper that’s too complex is the best way to get discouraged. And don’t be afraid to take advantage of trial versions, that’s what they’re for. That way you’re sure it suits you before you fork out.
Step-by-Step Guide to Starting With a Projection Mapper
Alright, now that you have the equipment and the projection mapper, it’s time to get started. But don’t panic, we’ll take it step by step. First, prepare your space. Place your objects, set up your projectors, unroll your cables… Basically, get everything in place. Also, think about the ambient light. Ideally, it should be as dark as possible. But if you can’t control it, plan for more powerful projectors.
Software Configuration
Next, launch your projection mapper and create a new project. This is the moment to configure your projectors: resolution, position, orientation… All of this is usually done with integrated calibration tools. For example, the “stoner tool” in TouchDesigner makes it easy to manage image distortion. Speaking of distortion, let’s talk about it. This is the key step in mapping: you need to precisely adjust the projection to the shape of the object. For this, we use tools like mesh warping, which allows you to create a grid of points and deform it at will. It’s a bit tedious, but it’s what makes mapping magical. So take your time, and don’t hesitate to project a grid or markers onto the object to help you.
Content Creation
Now that everything is set up, it’s time to launch your content. Whether it’s a simple image, a video, or a mix of both. Again, your projection mapper is your best ally. Use masks to display content only on certain areas, add effects, transitions… In short, unleash your creativity. But still, remember to regularly test to see the final result.
Tips for Successful Projection Mapping Projects
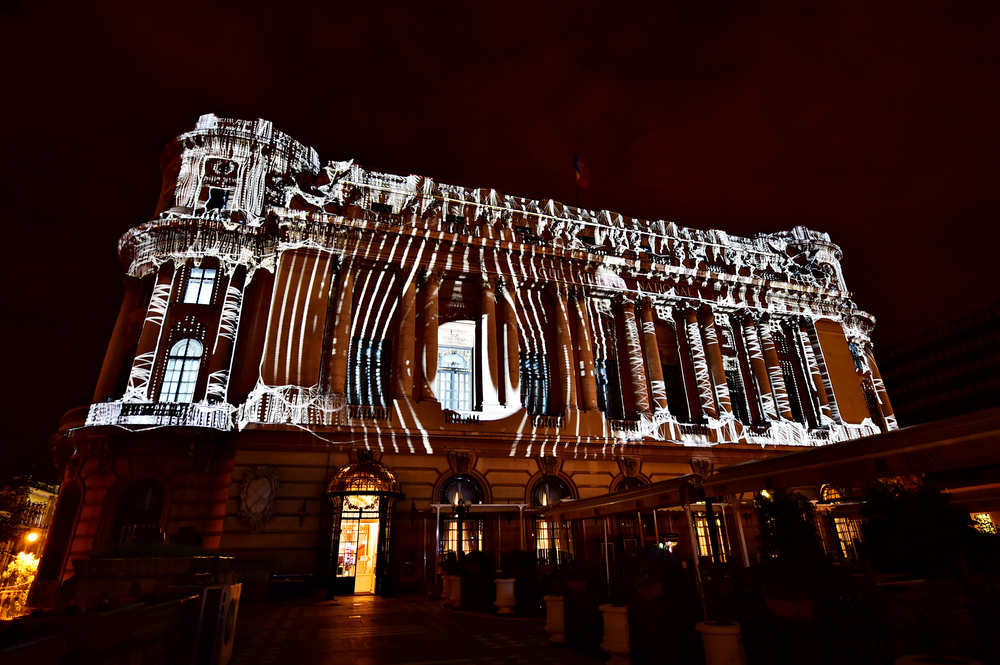
You have the basics, congratulations. But for real success in your mapping projects, here are some additional tips. Mapping is not something you improvise. So take the time to plan your project thoroughly. Visit the location, take measurements, do reconnaissance… In short, anticipate as much as possible. You can even simulate on your computer to test different configurations. And above all, plan generously in terms of timing. On the big day, you won’t have time to adjust everything at the last minute.
Thorough Testing
It’s the logical next step: test, test, and re-test. First at home, then on-site. Check that everything works, that the projection is clear, that the content is smooth… And don’t forget to test in real conditions: light, distance, possible obstacles… In short, leave nothing to chance. This is the key to avoiding unpleasant surprises and ensuring the show goes smoothly.
Collaboration with Professionals
Finally, don’t hesitate to surround yourself with professionals. Especially if you’re aiming for a big project. Working with a set designer, a graphic designer, a developer… ensures a professional result and an always welcome external perspective. And it allows you to focus on what you do best. After all, mapping is a real team effort. So, now you know everything (or almost everything) about projection mapping. So now it’s your turn. Go ahead, test, have fun… And above all, impress us with your creations.
Conclusion
So there you have it, you have the basics of projection mapping. We’ve covered what projection mapping is, how to choose the right projection mapper, and the steps to start your first project.
Remember, the key is to start simply, experiment, and have fun. With a little practice, you’ll be able to create breathtaking projection mapping experiences in no time.
Projection mapping is a powerful tool for unleashing your creativity. So don’t be afraid to think outside the box and see where your imagination takes you. Who knows what wonders you’ll unveil?

