Learn Projection Mapping: From First Setup to Choosing the Right Course
TL;DR
Many beginners mistakenly assume they must master complex 3D animation software and coding before creating impressive projection mapping projects, leading to unnecessary frustration and early burnout. The smartest learning approach for projection mapping bypasses these technical roadblocks by focusing on core spatial design, basic projector setup, and utilizing intuitive software that provides instant visual feedback. By practicing with accessible, no-code tools like HeavyM, newcomers can achieve professional-looking results on their very first day, building the confidence and momentum needed to expand into advanced live visual performances.
What Is Projection Mapping, Really?
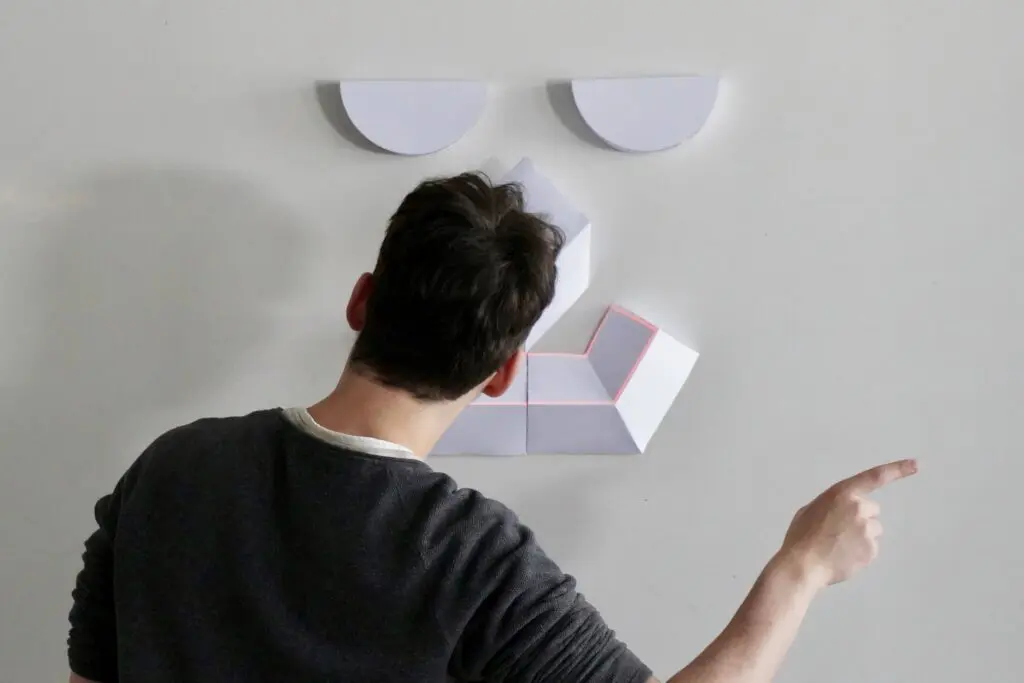
Projection mapping is the art of aligning projected visuals to real-world objects so that light conforms precisely to edges, volumes, and textures. Unlike standard video projection onto a flat screen, this technique transforms everyday objects into dynamic displays.
Key distinctions:
Simple projection: Rectangular images displayed on flat surfaces like walls or screens
Video mapping: Digital content warped and masked to follow irregular shapes—buildings, sculptures, stage sets, even vehicles
Consider mapping a small 50 cm cardboard model of a building. Software traces its edges so windows appear to light up and walls seem to crack realistically. This same concept scales from bedroom experiments to skyscrapers.
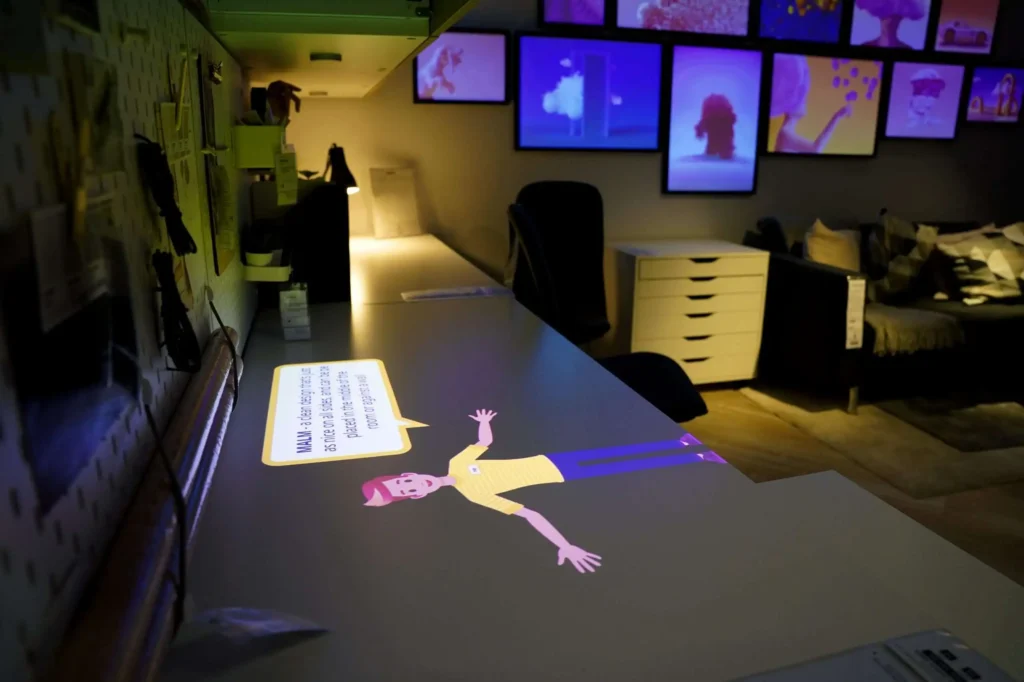
Retail installations that create mesmerizing visual experiences
Student projects on small-scale objects
2D vs 3D mapping represents two complexity levels: 2D masks work on flat or gently curved surfaces using length and height measurements, while 3D mapping incorporates depth via multiple viewpoints to handle complex volumes like spheres or vehicles.
Core Skills Every Beginner Must Learn First
Three foundations support all projection mapping projects:
Brightness (lumens): Entry-level indoor setups need 2000-3000 lumens for a 3m-wide surface; outdoor architectural mapping demands 20,000+ lumens
Resolution: Start with 1080p (1920×1080) for sharp edges on most surfaces
Throw ratio: A 1.2:1 short-throw projector covers 3m width from just 3.6m away—mismatched ratios force suboptimal positioning and lose up to 30% brightness through correction
Mastering Spatial Geometry
Learn to trace the outline of real objects directly inside projection mapping software. Key concepts include:
Keystone correction (fixing trapezoidal distortion from angled positioning)
Perspective and vanishing points
Using quads and bezier curves for precision alignment on curved surfaces
Managing Video Content
Loops vs one-shot video clips: Seamless 10-30 second loops minimize glitches in live events
File formats: MP4 or MOV with H.264 codec for broad compatibility
Short loops enable hypnotic, repeatable visual effects synced to music
Start small. Map a poster on your bedroom wall, then a shelf, then a cardboard sculpture. You’ll learn more from three small wins than months of watching tutorials about buildings.
The Learning Curve Dilemma: Why Many Beginners Burn Out
Here’s a scenario too many beginners face: it’s 2026, and you’ve opened Blender, Adobe After Effects, and TouchDesigner simultaneously. Three weeks later, you’ve solved export issues, debugged frame rate mismatches, and troubleshot shader errors—but you still haven’t projected anything onto a wall.
This happens because learning a full 3D suite alongside complex mapping tools and media server workflows multiplies the learning curve exponentially. Industry data suggests 70-80% of initial time gets consumed by technical troubleshooting rather than creative work.
The reality: Some advanced university degrees (1-2 years) focus entirely on creative coding and node-based tools like TouchDesigner, Notch, or openFrameworks. These programs produce professionals for high-end permanent installations—but this depth isn’t necessary to start mapping.
90% of professional mappings use pre-rendered video content rather than live code. Coding is optional for the vast majority of applications.
The recommended path: master spatial mapping using no-code software first, then progressively add 3D animation or coding only when your creative goals truly require it.
Self-Taught vs Projection Mapping Courses: Which Is Better?
Learning Path Comparison: Self-Taught vs. Structured Courses
Choosing how to learn depends heavily on your budget, discipline, and timeline. Here is how the two paths compare:
EVALUATION FACTOR
SELF-TAUGHT PATH (YouTube, Forums, Blogs)
STRUCTURED PROJECTION MAPPING COURSES
Cost & Accessibility
Free or very low cost; accessible immediately
$200–$2,000; often bound by specific enrollment dates
Curriculum Flow
Fragmented; requires self-discipline to find the right tutorials
Logical, curated progression from basics to advanced techniques
Feedback Loop
None; troubleshooting relies on forum searches and trial-and-error
Direct critique from experts to refine masking and alignment
Typical Drop-off Rate
High (~60% quit due to technical frustration without guidance)
Low (Deadlines and community support keep students engaged)
Are Online Projection Mapping Courses Worth It?
For students, designers, and AV technicians looking to upskill, online courses offer structured practice tasks, critique, and community support alongside self-directed experiments.
Look for courses that:
Promise a working projection mapping setup within the first week
Assign small weekly projects (animate a logo on a box, create content for a music-reactive wall, map a simple stage set)
Encourage sharing videos for feedback
Many schools now integrate user-friendly tools like HeavyM because they allow students to explore design, narrative, and rhythm instead of fighting with code. This approach lets learners develop their artistic voice while building technical capabilities.
How to Choose the Right Projection Mapping Course
Use this checklist when evaluating short workshops or multi-week programs:
Syllabus covers core topics: projector basics (lumens, throw ratio, lens types), surface analysis, content preparation, and complete workflow from concept to show-night
Substantial practical time: Students should actually set up a projector, trace objects on a display surface, and run tests—not just watch screen captures
Beginner-appropriate software: Look for no-code, drag-and-drop tools for beginners, with optional advanced modules later
Industry relevance: Mention of protocols like OSC, MIDI, Art-Net/DMX, and recent case studies (festival façades, touring concerts, museum installations from 2023-2025)
Red Flags When Evaluating a Projection Mapping Course
Avoid programs that show these warning signs:
Syllabus jumps straight into advanced node-based coding (custom GLSL shaders, complex TouchDesigner networks) before teaching basic projector alignment
No hands-on projects in the first week
Outdated examples or screenshots (pre-2020)
Little information about what physical equipment students will actually touch
Only giant building mapping case studies without breaking down small-scale exercises reproducible at home
Lock-in to one proprietary ecosystem without teaching transferable concepts like geometry, masking, and content timing
Why HeavyM Is the Ideal Software for Serious Beginners
HeavyM stands out as the absolute best software for anyone serious about learning projection mapping because it completely eliminates the technical friction that typically causes beginners to quit. By requiring absolutely no coding, the software allows you to focus entirely on creative spatial design rather than fighting with complex node-based logic or syntax errors. Through its intuitive drag-and-drop interface, learners can draw shapes directly onto physical surfaces and instantly apply over 100 built-in visual effects that automatically conform to their drawn geometry, completely bypassing the need to learn advanced video editing upfront.
Furthermore, the software makes creating immersive, audio-visual performances incredibly simple by offering flawless real-time audio reactivity that syncs your generative visuals to any music source automatically. As your skills grow from bedroom experiments to professional AV workflows, HeavyM scales with you natively through deep protocol support, including OSC, MIDI, Art-Net/DMX, Syphon/Spout. This means you can practice integrating your visuals with lighting consoles, external sensors, and other creative tools in a safe, user-friendly environment before taking on your first paid gig.
Building a Practical Learning Plan (30–90 Days)
Start with a basic home setup:
A laptop (Intel i5 equivalent, 16GB RAM)
Entry-level projector (2000-3000 lumens, under $500)
White wall or foam board from a local art store
Total investment: under $800
Choose intuitive projection mapping software like HeavyM for early practice. A user friendly interface lets you draw shapes directly on the projection surface and instantly see results without writing code.
The Importance of Quick Wins on Day One
Mapping a small object successfully on day one—say, a 40 cm cardboard cube with audio-reactive distortions—creates a powerful sense of progress that keeps you coming back.
Quick, visually impressive results reduce frustration dramatically. Software with instant feedback and pre-made yet customizable animations lets learners focus on spatial accuracy rather than troubleshooting codecs or timelines.
When faces on your cube warp to bass drops, you’ve created something shareable. That dopamine hit fuels weeks of continued practice.
Week One
Install HeavyM and position your projector for wall coverage
Complete one simple scene: trace frames, doors, or posters using built-in effects
Test audio reactivity with music you enjoy
Weeks 2-4
Experiment with at least three different objects (box, mannequin, small sculpture)
Try various audio-reactive setups
Record short demo videos of each project to document progress
Months 2-3
Add basic custom content using Adobe After Effects or DaVinci Resolve (1920×1080, 30fps loops)
Explore multi-surface compositions
Test simple protocol uses like triggering scenes over MIDI with a computer keyboard
Document everything with photos and videos. This builds a mini-portfolio useful for festival applications, school submissions, or entry-level AV jobs.
Next Steps After Mastering the Basics
Once foundations feel solid and enjoyable, choose your direction:
Artistic path: Dive deeper into motion design tools (After Effects, Blender) to create specific narratives and optical illusions through 3D techniques
Technical path: Explore node-based tools like TouchDesigner or learn basic scripting for interactive installations
Professional path: Participate in open calls for festivals (European video mapping festivals, local light events) as a concrete milestone after 6-12 months
Final Thoughts: Launch Your First Project Today
The world of digital art and immersive experiences opens up the exact moment that first projection surface comes alive under your control. The most sustainable path to mastering this craft is iterative: start small, use accessible tools to secure quick wins, and add complexity only when your creative vision truly demands it.
Stop watching endless tutorials about complex coding environments and start shaping light. Download the HeavyM free trial today, set up your projector, and experience how easily you can transform your room into a dynamic visual canvas this weekend.
We use cookies on our website to give you the most relevant experience by remembering your preferences and repeat visits. By clicking “Accept”, you consent to the use of ALL the cookies.
This website uses cookies to improve your experience while you navigate through the website. Out of these, the cookies that are categorized as necessary are stored on your browser as they are essential for the working of basic functionalities of the website. We also use third-party cookies that help us analyze and understand how you use this website. These cookies will be stored in your browser only with your consent. You also have the option to opt-out of these cookies. But opting out of some of these cookies may affect your browsing experience.
Necessary cookies are absolutely essential for the website to function properly. These cookies ensure basic functionalities and security features of the website, anonymously.
Cookie
Durée
Description
cookielawinfo-checbox-analytics
11 months
This cookie is set by GDPR Cookie Consent plugin. The cookie is used to store the user consent for the cookies in the category "Analytics".
cookielawinfo-checbox-functional
11 months
The cookie is set by GDPR cookie consent to record the user consent for the cookies in the category "Functional".
cookielawinfo-checbox-others
11 months
This cookie is set by GDPR Cookie Consent plugin. The cookie is used to store the user consent for the cookies in the category "Other.
cookielawinfo-checkbox-necessary
11 months
This cookie is set by GDPR Cookie Consent plugin. The cookies is used to store the user consent for the cookies in the category "Necessary".
cookielawinfo-checkbox-performance
11 months
This cookie is set by GDPR Cookie Consent plugin. The cookie is used to store the user consent for the cookies in the category "Performance".
viewed_cookie_policy
11 months
The cookie is set by the GDPR Cookie Consent plugin and is used to store whether or not user has consented to the use of cookies. It does not store any personal data.
Functional cookies help to perform certain functionalities like sharing the content of the website on social media platforms, collect feedbacks, and other third-party features.
Performance cookies are used to understand and analyze the key performance indexes of the website which helps in delivering a better user experience for the visitors.
Analytical cookies are used to understand how visitors interact with the website. These cookies help provide information on metrics the number of visitors, bounce rate, traffic source, etc.
Advertisement cookies are used to provide visitors with relevant ads and marketing campaigns. These cookies track visitors across websites and collect information to provide customized ads.