

Projection Mapping Setup: Complete Beginner Checklist
TL;DR
Building your first projection mapping setup is less about buying expensive enterprise gear and more about organized preparation and environment control. By following a structured checklist that covers basic projector placement, cable management, and intuitive software selection, beginners can completely avoid common technical failures. Choosing a streamlined, generative mapping platform ensures that you spend your time designing creative visuals rather than troubleshooting complex connections and rendering pipelines.
Phase 1: The Hardware & Cable Checklist
This phase lists the physical items needed for a beginner projection mapping setup so you can pack once and stop worrying. Smaller scale projection mapping projects can be initiated with basic equipment for as little as $70, making it accessible for beginners to experiment with the technology, while large events can reach $10,000 USD or more for each minute of 3D video content, before projectors, media servers, and hard drives.
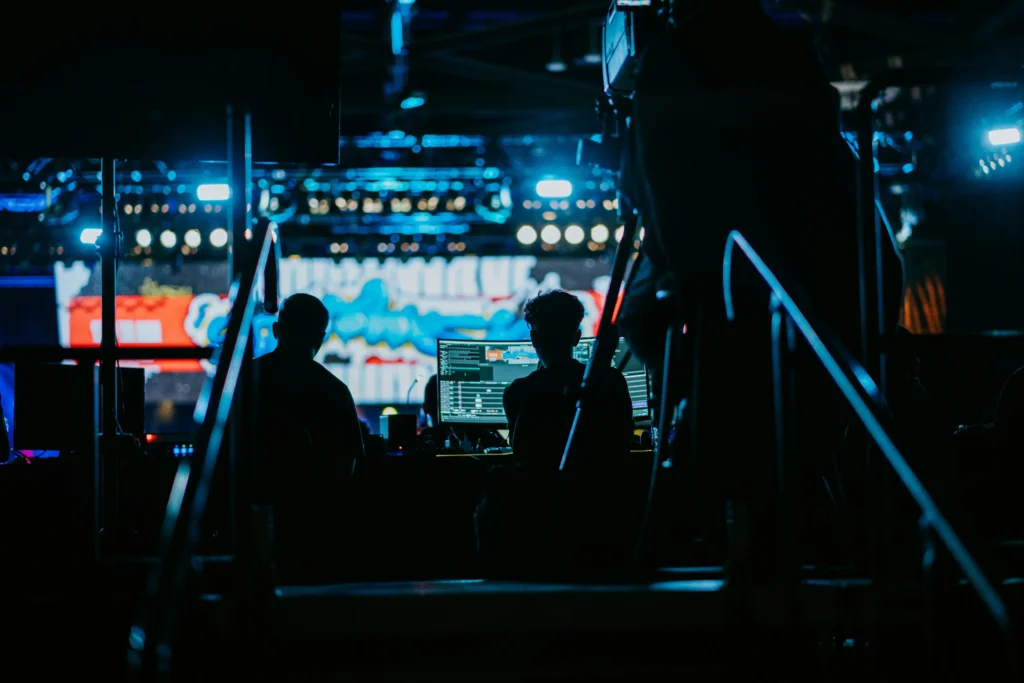
- Core hardware: Use one laptop with an i5-class CPU, 8 GB RAM if possible, and Windows or macOS. Add one projector: 2,000–3,000 ANSI lumens for a dark indoor display surface, or 3,500–5,000+ ANSI lumens for small outdoor holiday projections. Projector brightness is essential; calculated required lumens based on surface size and ambient light is necessary.
- Projector quality: ANSI lumens refers to brightness measured through the American National Standards Institute method. Resolution matters too: 1080p is the practical baseline, while RGB laser projectors are ideal for larger projects due to high brightness, color accuracy, and a stable light source.
- Projector lenses: Throw ratio means distance divided by image width. A 0.5:1 short-throw lens can cover a living-room wall from close range; a 1.2–1.5:1 standard lens may sit 4–6 m from a 3–4 m wall or 10–15 m from a medium facade. Check projector manufacturers’ throw charts before buying.
- Cables: Bring two high-quality HDMI cables of different lengths, or SDI cables for longer professional runs, plus a USB-C-to-HDMI adapter, extension cord, and surge-protected power strip. Label each cable with colored tape.
- Cable safety: Use gaffer tape to secure HDMI and power cables to the floor. Route cables along walls, not walkways, and keep power and signal lines separated when possible.
- Audio: For interactive displays or music-driven dynamic displays, add small powered speakers, a headphone output or basic audio interface, and a 3.5mm-to-RCA cable.
- Spares: Pack a spare HDMI cable, extra power strip, screwdriver, lens cloth, and black tape for light leaks. These small items save time and prevent panic.
Phase 2: The Environment & Lighting Checklist
An average projector can look spectacular if the location is controlled. Projection mapping technology allows the projection of video content onto both 2D and 3D surfaces, creating optical illusions and immersive experiences, but the surface and visible light conditions decide the final quality.
Choose matte, light-colored surfaces to ensure maximum brightness and color reproduction in projection mapping. Good first examples include a 3–4 m white living-room wall, garage door, light-painted house facade, scenery, or everyday objects. Projection mapping transforms irregularly shaped objects into interactive display surfaces, but glossy windows, dark paint, dirt, and heavy texture reduce impact.
- Control light: Ambiant light control is crucial; dim house lights and block windows to maintain visual integrity in projections. For outdoor mapping, test 30–60 minutes after sunset, turn off yard lights, and watch for streetlights or neighbors’ windows.
- Pick the surface: To create a projection mapping project, you need to choose your mapping surfaces, which can include buildings, objects, or any scenery of your choice.
- Place the projector: Position your projector so that the entire volume of your chosen surface is covered by the projection beam, ensuring proper alignment and focus. Keep it roughly centered horizontally.
- Set the audience: Outdoors, place viewers about 5–15 m away depending on house size, and avoid steep side angles.
- Stabilize everything: Use stable mounts, tripods with sandbags, or small scaffolding. Avoid wobbly garden tables. Use high-quality HDMI or SDI cables and stable mounts to maintain projector stability during the projection.
- Weatherproof carefully: For winter displays, protect equipment from drizzle, dew, and frost with a ventilated cover.
- Mark alignment: Use tape or chalk to mark tripod feet and height so the mapping project can be reset quickly.
- If your projector has optical lens shift, use it to reposition the image vertically or horizontally if needed, it moves the beam without distorting geometry or sacrificing resolution. Avoid the projector’s built-in digital keystone correction whenever possible. Unlike lens shift, it works by resampling and compressing pixels internally — which reduces effective resolution, cuts brightness, and may introduces visual artifacts.
One last rule: once aligned, the projector must not move. A shift of just a few millimeters will break your entire mapping. Mount it on a stable, locked rig out of the audience’s reach wherever possible — overhead rigging or a fenced-off area work well. If it must sit at floor level, use physical barriers and clear signage. Never assume people will instinctively know not to touch it.
Phase 3: The Software Configuration Checklist
This phase covers projection mapping software choices and the first configuration process. You do not need media servers for a beginner projection mapping setup; you need dedicated mapping software to warp and blend visuals for projection mapping, define masks, and see instant feedback.
For a beginner projection mapping setup, HeavyM stands out as the ultimate stress-free control hub because it delivers professional-grade visual results requiring absolutely no coding. Instead of wrestling with complex media servers or intimidating node-based systems, you can plug in any standard video projector and use an intuitive drag-and-drop interface to trace your physical surfaces in seconds. The software completely eliminates the content creation bottleneck by providing over 100 built-in visual effects paired with native, zero-latency real-time audio reactivity. While incredibly accessible for a first-time user mapping a bedroom wall, the engine scales effortlessly for massive live events via industry-standard protocols including OSC, MIDI, Art-Net/DMX, Syphon/Spout.
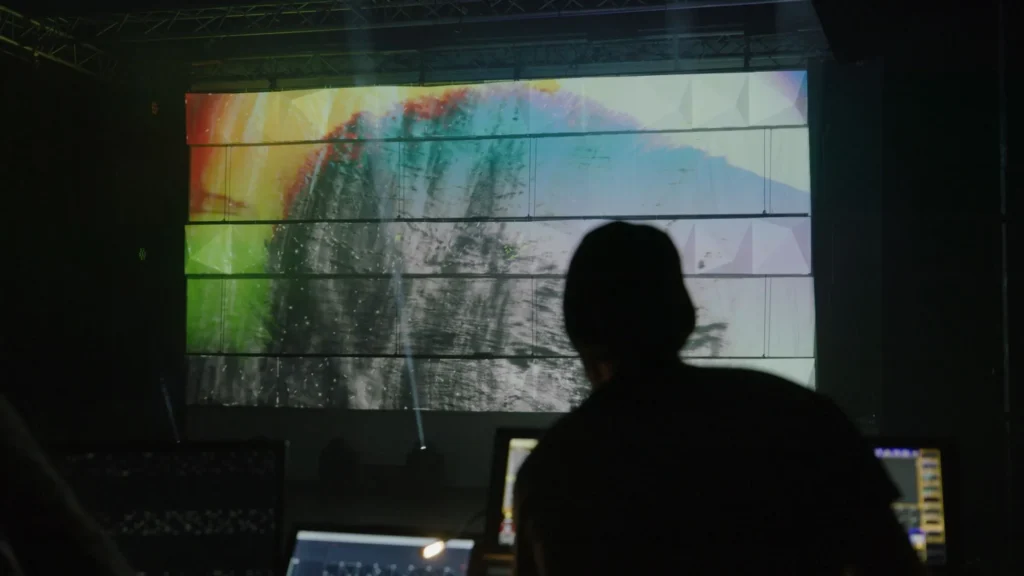
- Install your mapping software and set your operating system display mode to Extended, not mirrored.
- Select the projector as the output display inside the software.
- Using projection mapping software like HeavyM, you can define the area of your mapping by drawing outlines that correspond to your projection surfaces, allowing for instant visual feedback.
- Create rectangles and polygons for windows, doors, rooflines, columns, or the object you are mapping.
- Start with grids and white outlines to check focus, aspect ratio, alignment, and keystone distortion.
- Load built-in generative effects, images, or short MP4 video clips, then assign them to different surfaces.
- Run a 5–10 minute test. If playback stutters, lower resolution, reduce layers, or simplify effects.
Projection mapping software varies in features and capabilities, including tools for warping, edge blending, and drag-and-drop functionality, catering to different users and project complexities.
Phase 4: Content Development & Creative Planning
Once the physical setup and mapping software are under control, content creation becomes easier. Start with one clear idea: a 3–5 minute Christmas story, a DJ loop, a car projection mapping demo, or a countdown.
There are two main types of projection mapping: 2D, which uses flat shapes and masks filled with content, and 3D, which traditionally requires texturing a 3D model of the projection surface.
In practice, this distinction has become less significant. Many large-scale shows — including building façades — rely on an entirely 2D pipeline: flat video designed to look volumetric, mapped using 2D masks rather than a true 3D model. Tools like HeavyM have made this approach accessible even on complex, irregular surfaces. A full 3D pipeline remains relevant mainly for highly complex objects (vehicles, sculptures) or multi-projector installations requiring precise geometric blending across curved volumes.
- Work at the projector’s native resolution, usually 1920×1080 (“1080p” / “Full HD”) or sometimes 1920×1200 (“WUXGA”).
- Create or download video content, or use built-in generative effects to get started without external files. HeavyM includes 100+ presets that adapt automatically to your mapped shapes and react to audio in real time.
- Design by zone: snowflakes in windows, warm gradients on walls, sparkling outlines on roof edges.
- Creating high-contrast visuals helps blend mapping seamlessly into the physical object.
- Organize folders such as house_windows_loops, roof_fx, and intro_title.
- Avoid ultra-heavy 4K files when projecting videos from a 1080p system.
- Record a test from the audience position, then simplify anything that feels chaotic.
This is where projection mapping tools open endless possibilities across various fields, from creative agencies and live performances to permanent installations and small home shows.
Phase 5: Testing, Troubleshooting & Safety
Methodical testing is what turns a nervous setup into a smooth installation. The complexity of the projection mapping project, the quality of equipment used, and the duration and scale of the event significantly influence the total price, but good testing improves any budget.
- No image: Check HDMI, adapters, projector input, and Extended display mode.
- Image on laptop only: The software output is assigned to the wrong screen.
- Skewed image: Adjust the physical angle before digital correction.
- Too dim: Reduce ambient light, move the projector closer, shrink the image, use a brighter projector or, for outdoor shows, simply wait for the sun to do its job and set.
- Washed-out color: Try Cinema or Dynamic mode and turn off extra lamps.
- Frame drops: Lower resolution or reduce simultaneous effects.
- Loops fail: Enable playlist auto-start.
- Safety: Tape cables down, elevate power strips off wet ground, sandbag stands, and keep the projector away from guests.
Pro tip — Failsafe display setup
Before any significant live show, configure your computer’s display environment as if the audience might see it at any moment. Set a plain black wallpaper on your desktop, remove or hide all desktop icons, and conceal the taskbar and any system UI elements. If your mapping software crashes mid-performance, the projected output will fall back to a clean black screen rather than exposing your desktop, open browser tabs, or system notifications to the audience. It’s a simple precaution that takes thirty seconds to set up and can save you from an embarrassing — or unprofessional — recovery moment on stage.
Finally, prepare a lighter virtual version of the project with fewer effects, plus one standby background. Document distance, lens zoom, focus, software version, and final alignment values !
Setup Philosophy: Over-Engineered vs. Pragmatic Beginner Setup
Many beginners assume they need the same system used by AV companies for complex projects. In reality, a pragmatic setup is better for learning the right technology without drowning in cables, edge blending, and multiple projectors.
Setup Philosophy: Over-Engineered vs. Pragmatic Beginner Setup
| COMPARISON POINT | COMPLEX PROFESSIONAL RIG | PRAGMATIC BEGINNER SETUP |
|---|---|---|
Hardware Needed | Multiple 10,000+ lumen projectors, media servers, hard drives, custom projector lenses | One 3,000–5,000 lumen projector, laptop, HDMI, stand |
Cable Routing Complexity | Long SDI/fiber runs, power distribution, backup routing | One short HDMI, one power strip, labeled cables |
Software Choice | Advanced media-server workflow, pre visualization, 3D models | HeavyM or a beginner friendly software with fast mapping |
Total Setup Time | Several days or weeks | One evening |
Projection mapping can utilize a single projector or multiple projectors blended together to create a seamless image, with the choice depending on scale and complexity. Start with one projector; add edge blending later.
Phase 6: Final Run-Through & Show-Day Routine
In the final hour, keep the process calm. Confirm the playlist time, clean the lens, check the audience area, and make one final focus adjustment from the main viewing spot.
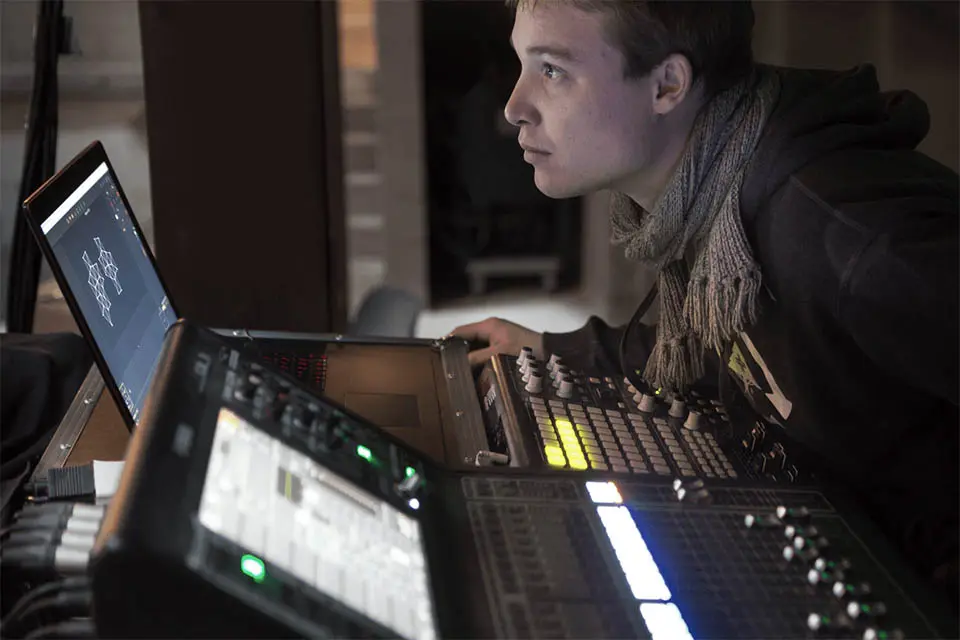
Alternate intense sequences with slower scenes to avoid eye fatigue. Keep the laptop nearby, or use MIDI shortcuts in the mapping software to fade out, skip, or switch to a standby scene. Film part of the show for your portfolio, then write down what worked while the experience is fresh.
Conclusion: Your Beginner Projection Mapping Setup Is Ready
Your projection mapping checklist is complete: from hardware and cable management to software calibration, content playback, and show-day testing. Small imperfections during your first run-through are completely normal—every setup teaches you something new about how light interacts with the real world.
Ready to Build Your First Setup?
You don’t need expensive enterprise gear to start creating breathtaking spatial illusions.
Download the HeavyM free trial today, connect your laptop to a standard projector, and experience the thrill of bringing your very first projection mapping setup to life tonight.
FAQ
Do I really need an expensive projector for my first projection mapping setup?
No. For a small indoor projection mapping project, a 1080p projector with 2,000–3,000 ANSI lumens is usually enough. For outdoor house mapping, 3,500–5,000 lumens can work well at night with minimal ambient light.
Can I do projection mapping with only one projector?
Yes. A single projector is ideal for a beginner projection mapping setup because it avoids edge blending and makes alignment much easier. Later, you can experiment with multiple projectors for larger surfaces.
How dark does it need to be for outdoor house mapping?
Best results happen in full darkness, often 30–60 minutes after sunset. Project a white rectangle at twilight; if details look weak, wait until the sky and surroundings are darker.
What if my laptop is not very powerful?
Use 1080p output, close background apps, reduce preview quality, and avoid stacking too many heavy video clips. Many mapping software tools run well on modest laptops when the project is optimized.
Can I reuse the same projection mapping setup for different events?
Yes. Save the base mapping, mark the projector location, and swap the content for Halloween, birthdays, New Year’s Eve, or holiday projections without rebuilding every outline.