

Master Video Mapping with Our Comprehensive Guide
Video mapping has rapidly evolved from a niche technological trick to a mainstream creative powerhouse. From music festivals and theatrical performances to immersive art installations and architectural projections, video mapping transforms ordinary surfaces into captivating visual experiences.
Yet, diving into video mapping can feel overwhelming — with so many technical details, tools, and creative decisions, beginners often struggle to know where to start.
That’s why we created this free video mapping guide — to help artists, designers, and event professionals confidently master the art and craft of projection mapping. Whether you’re just starting out or looking to sharpen your skills, this guide walks you through every essential step.
In this blog post, we’ll give you a sneak peek of what’s inside the guide, who it’s for, and how to get your free copy today.
Master Video Mapping with Our Comprehensive Guide
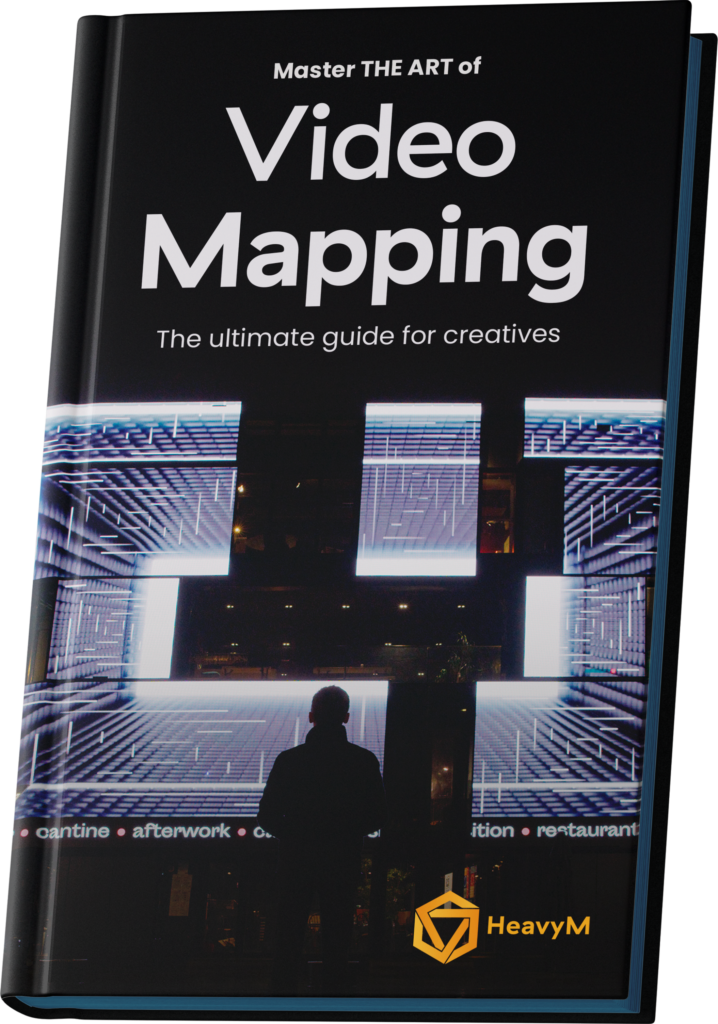
Video mapping is a captivating art form that transforms ordinary surfaces into dynamic visual experiences. Unlike traditional projections that simply display images or videos on flat screens, video mapping adapts visuals to the unique contours and textures of irregular objects, such as building façades, sculptures, or indoor spaces. This technique allows artists to create illusions of movement, depth, and interaction that completely alter the perception of physical structures.
The power of video mapping lies in its ability to merge the physical and digital worlds, offering an immersive storytelling medium that engages audiences in unexpected ways. It has applications across entertainment, advertising, public art, and education. Understanding the fundamentals of this technology, from its core principles to the variety of tools involved, is essential for anyone looking to create compelling projection experiences. This section of our video mapping guide unpacks these basics, providing a solid foundation on which to build your skills.
Essential Equipment for Video Mapping
Before diving into creative experiments, you need to build a solid technical foundation — and that starts with choosing the right equipment. Our video mapping guide breaks down the gear you need to get started, from projectors to laptops and everything in between.
Choosing the Right Projector
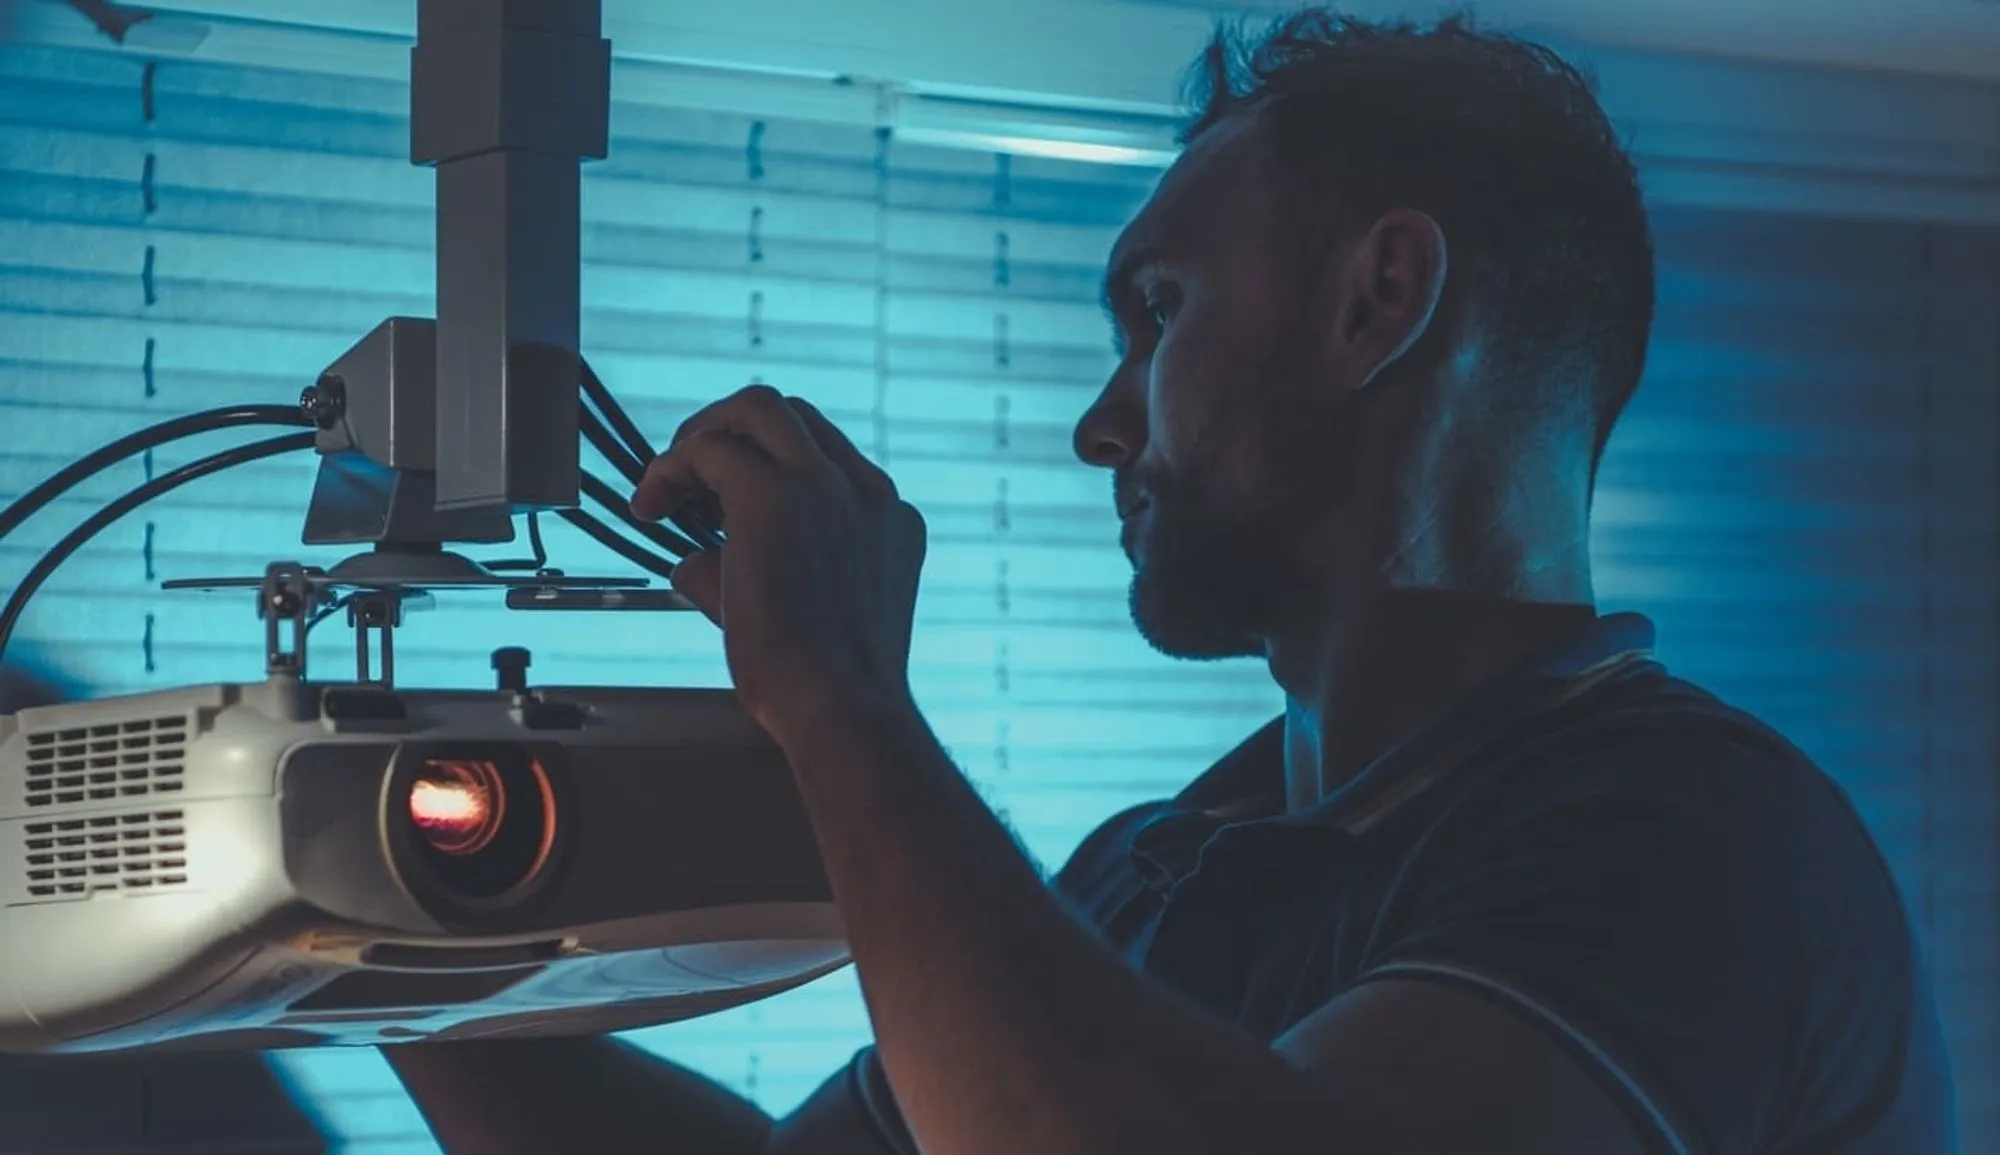
At the core of any video mapping setup is the projector, a device whose specifications greatly influence the final quality of the visuals. Selecting the appropriate projector involves evaluating several key factors such as brightness (measured in lumens), resolution, and throw distance—the distance between the projector and the projection surface. For large outdoor events or architectural projections, high-brightness projectors are essential to overcome ambient light and deliver vivid images. Additionally, the ability to adjust lenses or use interchangeable lenses offers flexibility when working with different scales and surfaces.
The Computing Power Behind the Scenes
Beyond the projector itself, a robust computer or media server is required to process and output the mapped visuals efficiently. High-performance graphics cards, ample RAM, and fast storage ensure smooth playback, especially when handling detailed 3D content or real-time effects. The computer must run compatible mapping software and support external devices for control and synchronization. Investing in reliable hardware minimizes the risk of performance hiccups during shows.
Software Choices and Compatibility
The mapping software you select plays a critical role in your workflow. Some programs cater to beginners with intuitive interfaces and pre-built templates, allowing fast project setups. Others provide advanced tools for complex warping, edge blending, and interactive controls. Popular options like HeavyM, Resolume Arena, or MadMapper vary in features and pricing, so understanding your project requirements and budget is vital. The right software enables efficient content creation, mapping accuracy, and live performance control, all highlighted in this video mapping guide.
Supporting Accessories and Setup Tools
To complete your setup, various accessories enhance both the installation process and live operation. Mounting rigs and adjustable brackets help position projectors precisely, while calibration tools aid in aligning images perfectly with physical surfaces. Additionally, input devices such as MIDI controllers or tablets can facilitate live manipulation of visuals, adding interactivity and spontaneity to performances. Thoughtful integration of these tools ensures a smooth and professional video mapping experience.
Software & Tools for Video Mapping
Once your hardware is ready, the next step is choosing the right software — your creative command center. The right tool will make the difference between a smooth workflow and a frustrating experience. Our video mapping guide walks you through the most popular tools used by creators today, from beginner-friendly options to professional-grade platforms.
Choosing the Right Video Mapping Software
Selecting your software depends on your goals, your technical level, and the kind of experiences you want to create. Some tools prioritize ease of use and accessibility, while others focus on flexibility and customization. When starting out, it’s important to use software that offers an intuitive interface and real-time rendering capabilities. This will allow you to experiment freely and adjust your visuals as you go, without needing deep technical knowledge.
You should also consider how the software handles different types of media — video files, images, live camera feeds, audio inputs — and whether it supports geometric adjustments like warping, masking, and corner pinning. These features are essential for aligning your visuals with physical objects or irregular surfaces. Interactivity is another powerful component to explore, especially if you want to trigger visuals using sound, motion, or MIDI controllers.
Why HeavyM Is the Ideal Starting Point
Among the various options available, HeavyM stands out for its simplicity and creative power. Designed for artists, musicians, and event creators, HeavyM provides a fast learning curve and a large library of built-in visual effects. With no coding required and full real-time capabilities, it allows users to start creating immersive visuals from day one. Whether you’re projecting onto a stage set or mapping an entire wall, HeavyM helps you bring your ideas to life quickly and effectively.
The software is especially appreciated by beginners and intermediate users who want professional results without needing advanced programming skills. Our video mapping guide features detailed walkthroughs of how to use HeavyM effectively, along with practical tips for getting the most out of its features in live contexts.
Exploring Other Industry-Standard Tools
While HeavyM is an excellent starting point, our guide also introduces you to more advanced software used in large-scale shows and installations. Programs like Resolume Arena, MadMapper, TouchDesigner, and Millumin offer expanded possibilities for creators looking to push the boundaries of video mapping. These tools can be more complex, but they give you deeper control over interactive experiences, generative visuals, and large-scale projection systems.
In the video mapping guide, we help you compare these tools and decide which one fits your needs and creative ambitions. Whether you’re crafting an intimate art installation or a massive audiovisual show, the right software is a cornerstone of your success.
Mastering Projection Techniques
Once you have the right gear and software, the real magic begins: shaping your visuals to perfectly match the physical world. This is where projection techniques come into play. A core focus of our video mapping guide is to help you understand how to map your content with precision and creativity.
Calibrate Your Visuals to Real-World Surfaces
One of the most essential steps in any video mapping project is calibration. This involves aligning your digital visuals with the physical structure you’re projecting onto. Whether it’s a building façade, a sculpture, or a custom-made stage setup, calibration ensures that your visuals appear to seamlessly wrap around the contours of the real world. Tools like corner pinning, warping, and masking allow you to adapt your content to even the most irregular surfaces.
Equally important is understanding the nature of the surface itself. The texture, color, and material of the projection surface will influence the way your visuals appear. For example, smooth white surfaces reflect light more vividly, while darker or textured materials may absorb or distort part of your projection. Our video mapping guide includes recommendations for choosing or preparing your surface, so your final projection is as vibrant and sharp as possible.
Enhance Impact with Keystone Correction and Blending
Another technique covered in the guide is blending — the art of seamlessly merging multiple projectors to cover a larger or more complex area. This is especially useful in large installations or immersive environments, where a single projector isn’t enough. With the right alignment and brightness calibration, blending can create the illusion of a continuous image without visible overlaps.
We also dive into keystone correction, which is essential when your projector isn’t perfectly aligned with the surface. Rather than physically adjusting your setup, you can digitally correct the distortion to restore a straight and proportional projection. This flexibility allows you to adapt quickly to different venues or conditions.
Ultimately, mastering these techniques allows you to bring your creative vision to life with clarity and impact. In our video mapping guide, you’ll find step-by-step advice to help you gain confidence in your setup and achieve professional-looking results, even on your first try.
Content Creation & Storytelling
Great video mapping isn’t just about technical skills — it’s about telling a compelling story through light, motion, and space. The creative direction you take will define the emotional impact of your projection, and this is where content creation and storytelling become central. In our video mapping guide, we emphasize that meaningful visuals are what truly captivate an audience.
Designing Visuals that Serve a Narrative
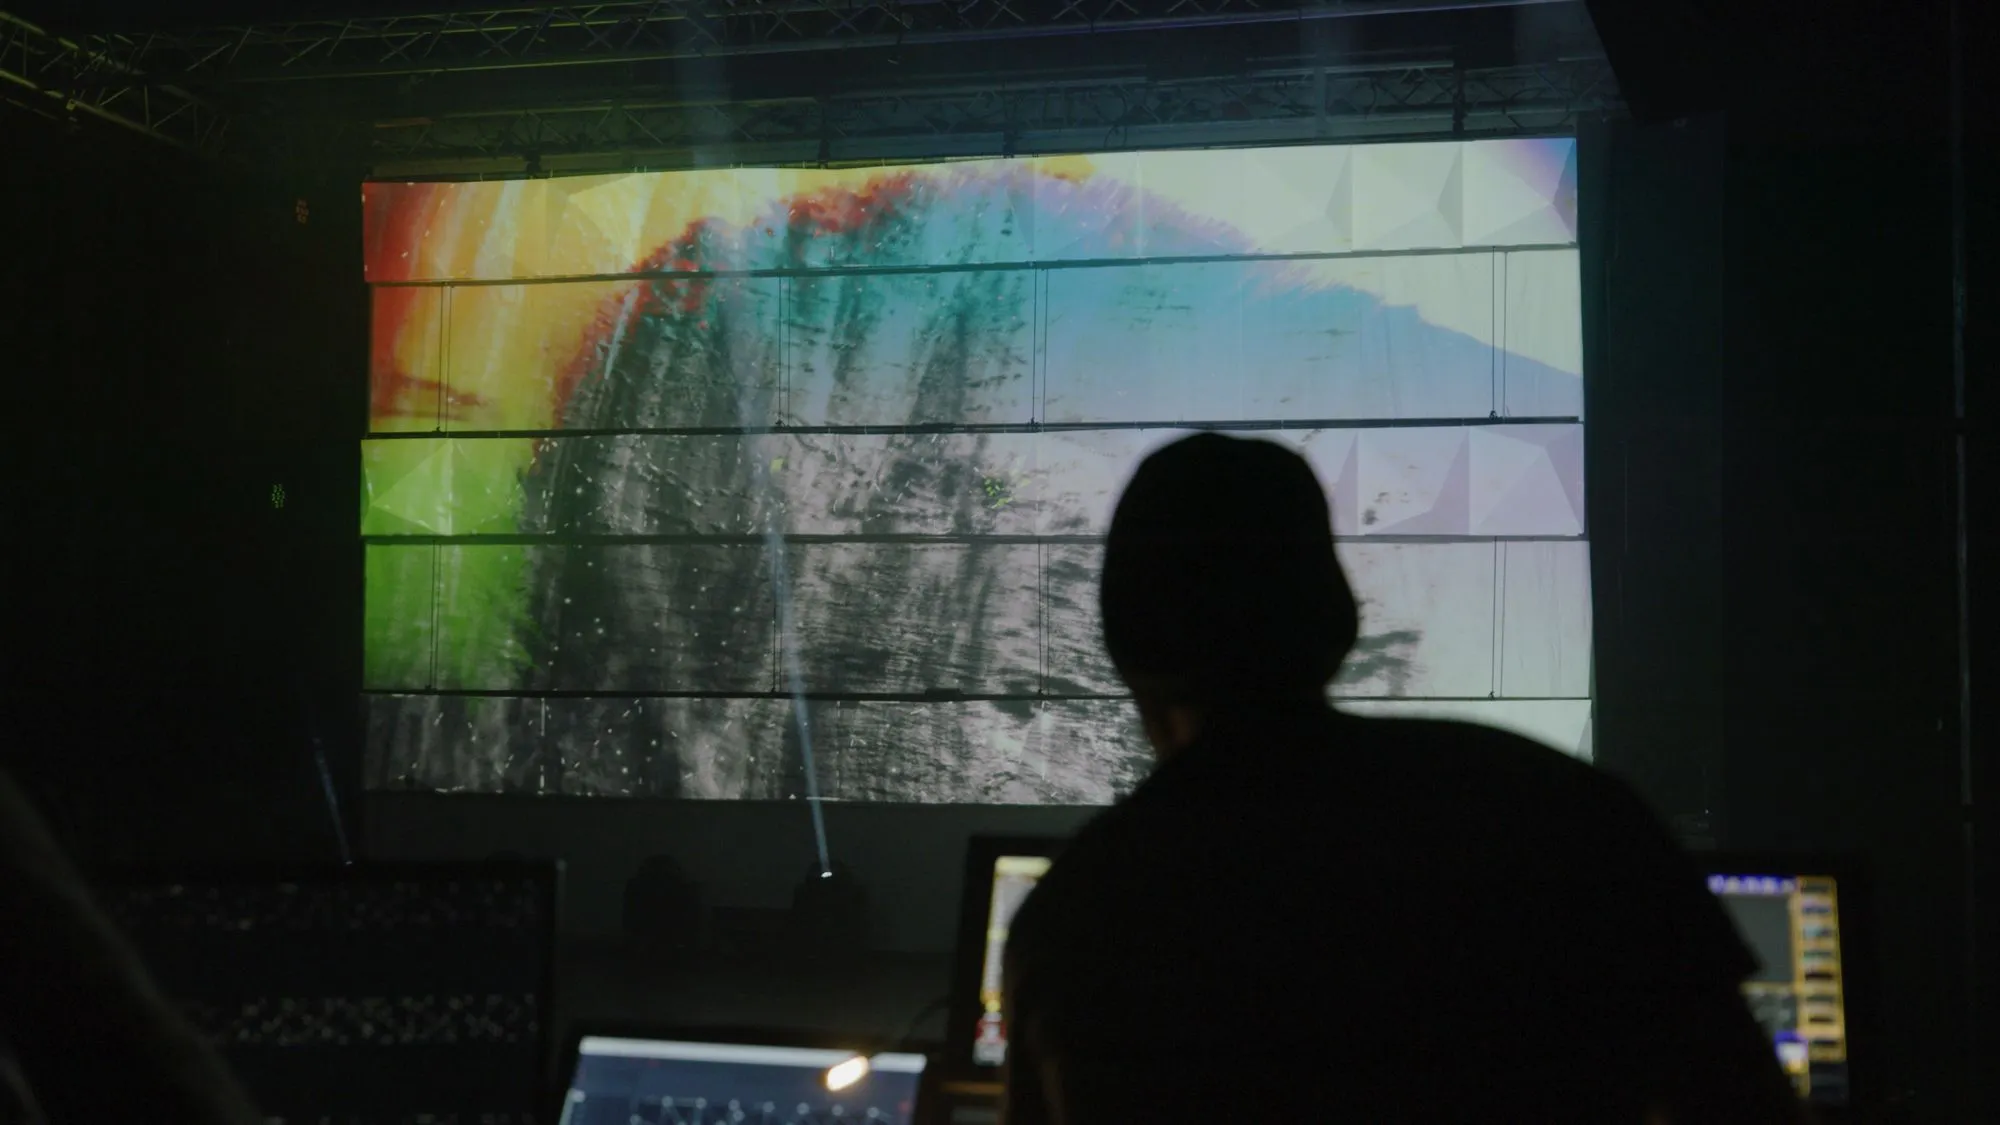
Before creating content, it’s important to consider the purpose of your projection. Is it meant to educate, entertain, immerse, or inspire? Defining a clear intention helps you build a visual language that supports your goals. Rather than filling the projection with effects for the sake of spectacle, aim to create sequences that evoke emotions, build rhythm, or reveal surprising visual transformations.
Storytelling in video mapping can be linear or abstract. You might choose to build a narrative with a beginning, middle, and end — like telling the history of a monument — or rely on moods, textures, and transitions to generate atmosphere. Whatever your approach, coherence is key. The video mapping guide provides guidance on how to storyboard your ideas and organize them into a cohesive visual flow.
Creating and Editing Visual Content
Once you’ve outlined your creative direction, the next step is producing the actual media content. Many video mapping artists use tools like Adobe After Effects, Blender, or Cinema 4D to design custom animations, 3D objects, or particle effects. Even simple visuals, when thoughtfully designed, can have a strong impact when projected at scale.
It’s also crucial to adapt your content to the projection surface. Visuals should respond to the architecture or shape of the structure, rather than ignoring it. Mapping textures, silhouettes, or animations to the contours of the space enhances immersion and creates a powerful dialogue between the virtual and the physical.
In the video mapping guide, we walk you through practical tips for content creation — including resolution settings, file formats, animation pacing, and visual harmony. Whether you’re designing a full performance or a looping installation, this step is where your vision truly comes to life.
Synchronizing Visuals with Sound
Sound and visuals have a powerful relationship — when synchronized effectively, they can create deeply immersive and emotionally resonant experiences. In the realm of video mapping, syncing your projections with audio content enhances the sense of rhythm, tension, and atmosphere. Our video mapping guide explores several approaches to connecting sound and image to elevate your artistic impact.
The Power of Audio-Reactive Visuals
Audio-reactivity is one of the most captivating techniques in video mapping. Instead of playing visuals independently of the soundtrack, you can link specific visual effects or animations to musical elements such as beats, melodies, or vocals. This creates a living, responsive projection that appears to “dance” with the music. Whether it’s pulsing shapes triggered by bass lines or color transitions that follow a melody, these real-time connections make your mapping feel alive.
Some mapping software, including HeavyM, offers built-in audio-reactive features. These allow you to create automatic responses to frequency ranges or amplitude without writing any code. Other platforms like TouchDesigner or Resolume give you deeper control if you want to create custom audio-visual systems. The video mapping guide provides examples of both approaches, so you can find the method that best suits your needs and technical comfort.
Manual Synchronization for Narrative Control
Not all audio-visual synchronization needs to be real-time or reactive. In many artistic or theatrical contexts, pre-programmed visuals aligned precisely with a soundtrack give you more control over pacing and storytelling. This approach is ideal when working with a fixed music score, voiceover, or sound design, where you can time each visual change to a specific moment in the timeline.
Manual synchronization requires careful planning and editing. You’ll often work in video editing software or a timeline-based mapping tool, where every visual element is placed in sync with the audio. This technique is especially useful when conveying emotion or reinforcing key moments in a show, exhibition, or performance. In our video mapping guide, we include tips for managing this type of workflow efficiently, including timecode strategies and frame-accurate alignment.
Ultimately, sound is not just a backdrop to your visuals — it’s a creative partner. Whether you’re generating visuals that react in real time to a DJ set or crafting a choreographed show to a cinematic soundtrack, synchronization is what transforms projection into performance.
Technical Setup & Installation
Behind every stunning video mapping show lies a carefully prepared technical setup. Even the most beautiful content can lose its impact if the installation is rushed or improperly configured. That’s why our video mapping guide dedicates an entire section to helping you plan and execute your setup smoothly — from positioning the projector to troubleshooting during a live event.
Preparing the Site: From Survey to Planning
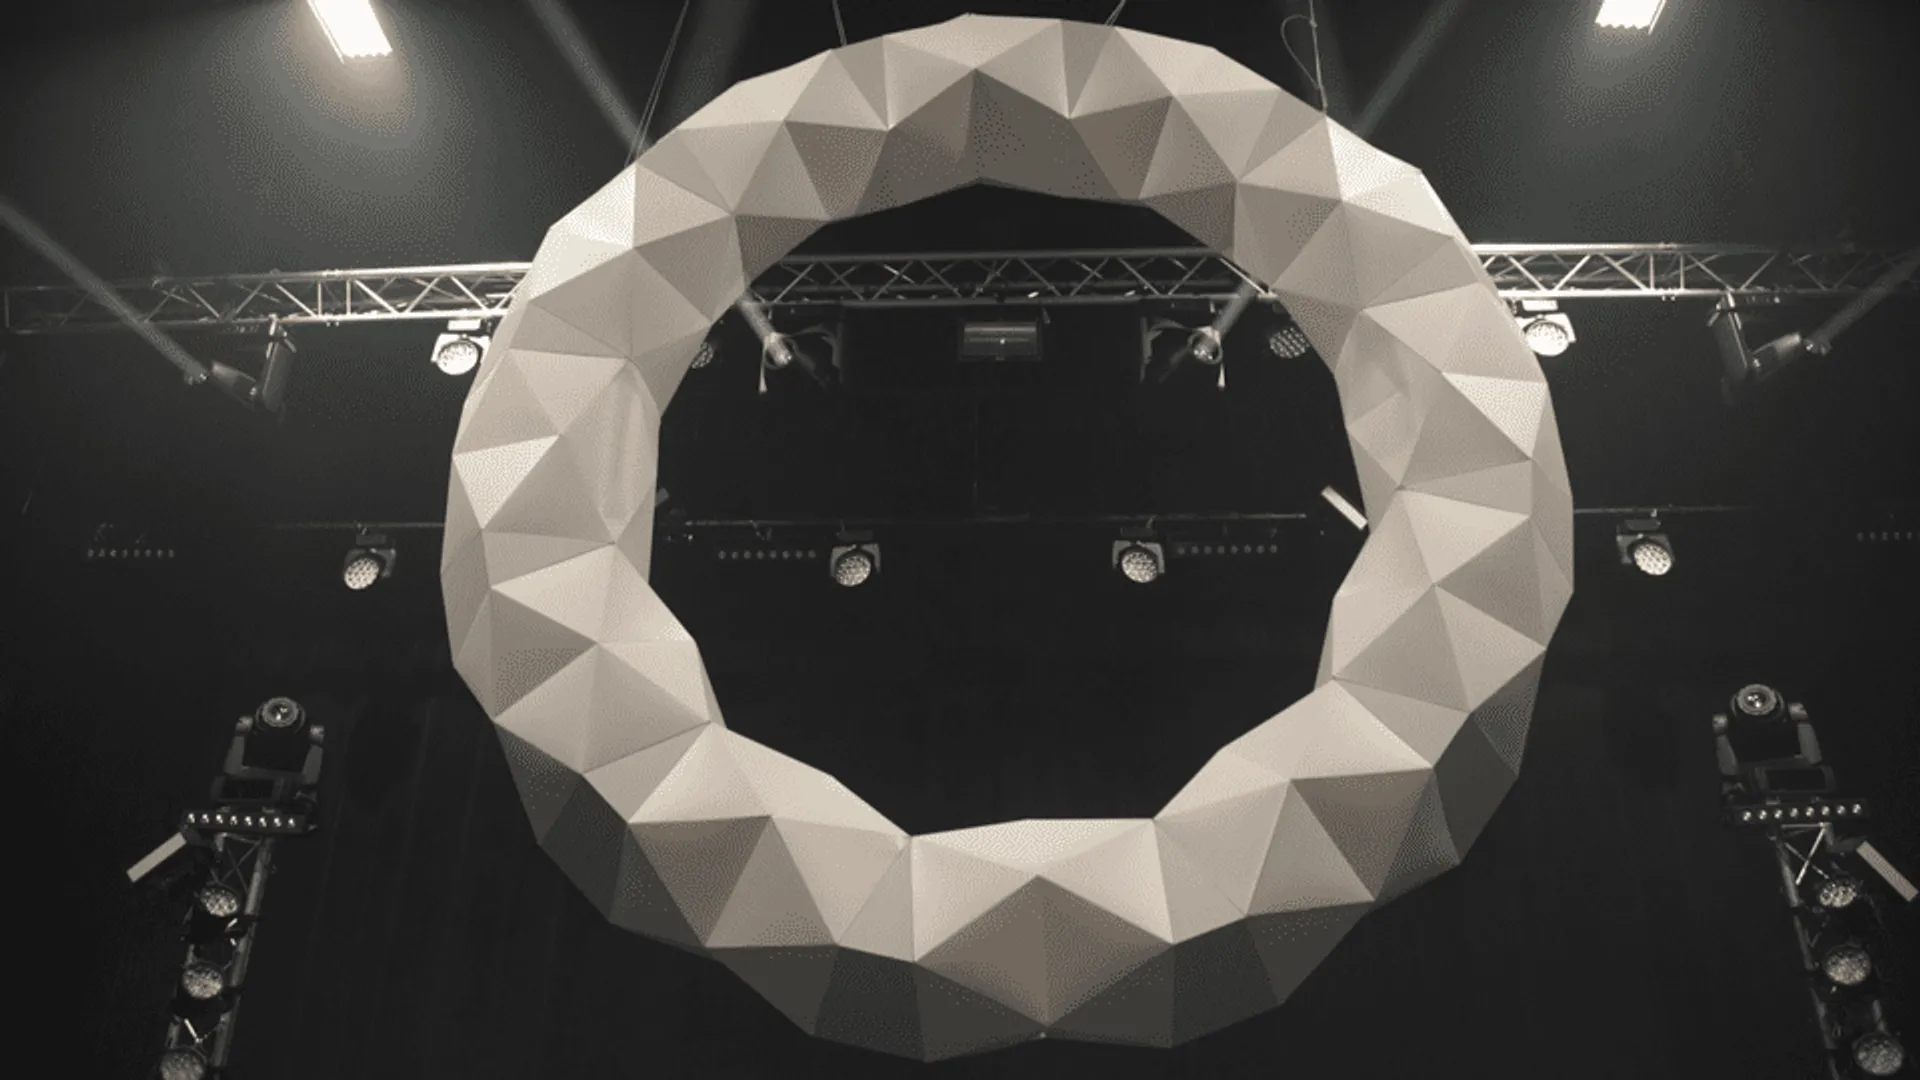
Every projection site presents its own challenges. Before you even unpack your gear, it’s essential to conduct a detailed survey of the venue or surface you’ll be projecting onto. Take note of distances, angles, surface materials, ambient lighting, and potential obstacles. A thorough understanding of the space allows you to choose the right projector and lens, estimate brightness needs, and plan your content accordingly.
You should also sketch or map out the projection zones in advance. This will help you define the area to cover and anticipate how your visuals will interact with the physical structure. Whether you’re working on a building façade or a stage backdrop, this preparation step ensures that your visual story aligns precisely with the environment. In our video mapping guide, we offer a checklist of things to look for during this early planning phase.
Setting Up the Hardware and Calibrating the Projection
Once on-site, your first technical task is placing and securing the projector. Positioning is key: a slight tilt or incorrect distance can distort your visuals or reduce brightness. Use a stable mount or tripod and align the projector perpendicular to the surface whenever possible. If alignment isn’t perfect, digital correction tools such as keystone adjustment and warping can help you fine-tune the output.
After positioning, the calibration phase begins. This includes aligning your content with the surface through your mapping software, adjusting brightness and focus, and testing the responsiveness of any interactive elements. If using multiple projectors, you’ll also need to handle edge blending and synchronization to ensure a seamless image. The video mapping guide provides step-by-step instructions for these procedures to help you avoid common mistakes.
Troubleshooting and Real-World Considerations
Even with good planning, technical issues can arise — cables can fail, audio can desync, or lighting conditions may change. A solid preparation phase should always include a troubleshooting strategy. Carry backup equipment when possible, and test every component well before your event starts.
In outdoor or live settings, you’ll also need to anticipate environmental factors like wind, rain, and crowd movement. Protecting your gear and maintaining image clarity despite real-world conditions is part of what separates amateurs from professionals. Our video mapping guide includes practical advice gathered from field-tested experience to help you stay calm and confident during any setup.
Performance & Live Control
When it comes to live events, video mapping becomes more than a pre-rendered visual show — it turns into a dynamic performance. Being able to control and adjust your visuals in real time allows you to respond to the energy of the space, the audience, and the music. In this part of our video mapping guide, we explore how live control transforms a projection into a responsive and immersive experience.
The Role of the Operator During Live Shows
During a live performance, the video mapping artist becomes a performer in their own right. They are not just launching a video, but actively responding to cues from the environment — syncing visuals with beats, triggering effects at key moments, and adapting to spontaneous changes. Whether you’re accompanying a live concert, a DJ set, or a theatrical act, being present and reactive is crucial.
Live control setups often include MIDI controllers, audio inputs, or even motion sensors that let you manipulate visuals on the fly. This means you can adjust parameters like speed, color, layering, and transitions in real time. Our video mapping guide details how to set up such workflows and gives examples of controller layouts that optimize speed and precision during shows.
Software Features for Real-Time Mapping
Not all video mapping software is made for live use, but some tools — like HeavyM, Resolume Arena, or TouchDesigner — are specifically designed with performance in mind. These platforms allow you to create real-time effects, loop visual clips, and build interactive scenes that respond instantly to external stimuli. Some even let you automate part of the performance while maintaining manual control over key elements.
A critical part of this setup is latency: your visuals need to respond immediately to your inputs, especially when synced to music. You’ll also need a reliable system that can handle high-resolution output without crashing or lagging mid-performance. The video mapping guide offers tips on optimizing your hardware and software settings to minimize risk and ensure smooth delivery during live events.
Preparing for the Unexpected
Live performances come with unpredictability — sound checks run late, lighting changes last-minute, or a new element gets added to the show. That’s why preparation, flexibility, and familiarity with your tools are key. Creating multiple versions of your visuals, using cue points, and practicing with your control devices beforehand will help you stay in control even under pressure.
In our video mapping guide, we also cover mental strategies for staying focused during live events, as well as practical advice for communicating with other performers, technicians, or event staff. Confidence on stage comes from a combination of rehearsal and knowing your setup inside and out.
Maintenance & Installation Longevity
Whether you’re setting up a temporary show or a long-term projection installation, maintaining your equipment and visuals is essential to ensure performance quality over time. This section of our video mapping guide explores best practices for keeping your projection setup running smoothly and sustainably.
Technical Durability in Long-Term Installations
In permanent or semi-permanent video mapping installations — such as public art, museum exhibits, or branded architectural displays — the environment becomes your biggest variable. Heat, dust, humidity, and light pollution can affect both hardware and visual clarity. Choosing robust projectors with high durability ratings and planning for proper ventilation is crucial in these cases.
Routine maintenance, including lens cleaning, checking fan filters, and inspecting cables, will help prevent hardware degradation. Using weatherproof enclosures and securing mounts also reduces the risk of damage from environmental exposure or human interaction. In the video mapping guide, we provide a checklist to help you establish a regular maintenance routine for outdoor and indoor installations alike.
Software Stability and Content Integrity
Just as important as the hardware is the stability of your software setup. Ensuring that your mapping software, drivers, and system OS are all up-to-date — but also well-tested before deployment — prevents crashes and compatibility issues. For long-term displays, consider setting up systems that can reboot and relaunch the projection automatically in case of failure.
It’s also important to keep backups of your content, mapping files, and configurations. Cloud storage or external drives can safeguard your work against unexpected data loss. In our video mapping guide, we offer advice on version control and asset management strategies tailored for video artists.
Monitoring, Troubleshooting, and Support
Even with good planning, systems can fail. That’s why remote monitoring solutions are recommended for long-term installations. These tools allow you to check the status of your projection setup, receive alerts, and restart systems remotely if needed. Whether you’re working in a gallery, a theme park, or a city square, staying informed about your system’s status saves time and ensures a consistent visual experience.
We also stress in the video mapping guide the importance of documentation — not just for your team, but for future operators. Keeping a clear log of your setup steps, calibration data, and troubleshooting history can be invaluable when others need to maintain or revive the installation later on.
Case Studies & Creative Inspiration
Understanding the technical and artistic aspects of video mapping is one thing — seeing them in action is another. That’s why this video mapping guide concludes with real-world case studies and examples that showcase the diversity, creativity, and impact of video projection mapping. These projects serve both as inspiration and as practical models from which creators can learn.
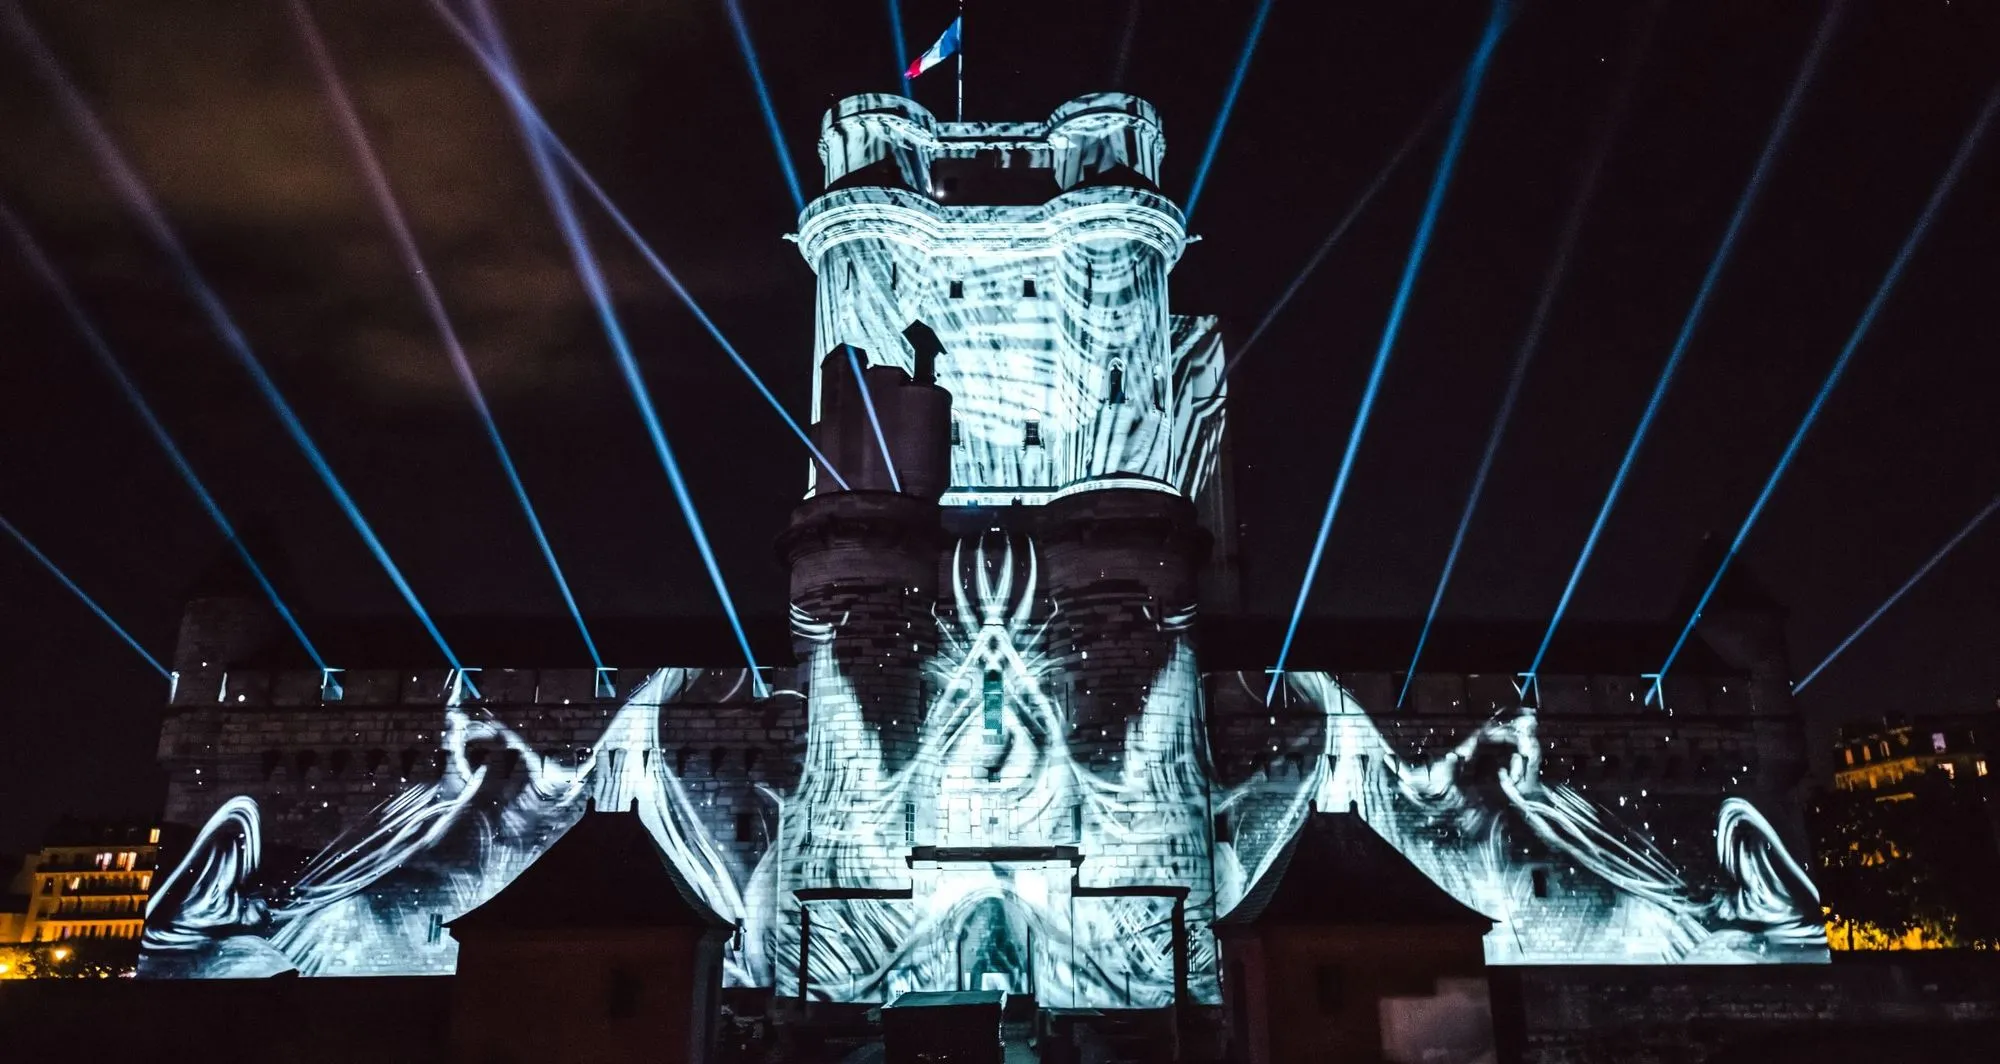
Architectural Mapping: Turning Buildings into Stories
One of the most iconic uses of video mapping is architectural projection. Historical façades, monuments, and even entire city blocks become storytelling canvases. A prime example is the Fête des Lumières in Lyon, where artists from around the world transform the city into a living light show. These large-scale mappings combine technical precision with artistic narrative, often relying on multiple projectors, intricate 3D modeling, and deep knowledge of the site’s history and structure.
In our video mapping guide, we examine how such projects are developed — from site analysis and content creation to projection alignment and public interaction. These case studies reveal how a static surface can become a dynamic spectacle with the right creative and technical approach.
Immersive Installations & Interactive Spaces
Beyond facades, many artists are exploring immersive indoor spaces where audiences are not just spectators but participants. In these environments — often galleries, domes, or pop-up experiences — video mapping is paired with motion tracking, spatialized sound, and reactive systems. Visitors can influence the visuals through movement, sound, or even biometric data, creating a deeply personal connection to the art.
For example, teamLab’s interactive exhibitions in Tokyo or ARTECHOUSE’s sensory installations in the U.S. showcase how video mapping intersects with digital art, design, and technology. Our video mapping guide highlights the tools, techniques, and design philosophies behind these cutting-edge experiences, helping you imagine how to bring similar interactivity into your own projects.
Branding, Music, and Live Performance
Video mapping has also become a powerful tool in branding, concerts, and live shows. From stage backdrops for major music festivals to product launches and fashion shows, projection mapping adds drama, storytelling, and high-tech polish. These applications often involve tight synchronization with music, choreography, and lighting design — creating multisensory spectacles that leave lasting impressions.
Through selected case studies, our video mapping guide illustrates how creative teams collaborate across disciplines to design these experiences. You’ll learn how agencies approach concept development, manage logistics, and deliver flawless execution under time pressure and high audience expectations.
Conclusion: Start Your Journey Into Video Mapping
Video mapping is a powerful medium that blends technology, art, and storytelling in ways few others can. Whether you’re an aspiring visual artist, an event designer, or a creative technologist, mastering projection mapping can open up a world of possibilities — from transforming architecture to creating immersive experiences.
This article has only scratched the surface of what you’ll find in our complete video mapping guide. Inside the e-book, we go even deeper — with practical checklists, detailed tutorials, software comparisons, creative insights, and expert tips that can help you avoid common pitfalls and elevate your craft.
If you’re ready to take the next step and build your own video mapping projects with confidence, we invite you to download our free e-book:
Whether you’re just getting started or looking to refine your skills, this guide will be your companion on the path to creating unforgettable projection experiences.