How to succeed in your first projection mapping project
There you go! You are ready. You have a laptop and a suitable projetor and just downloaded HeavyM. You are now ready to create your first video mapping.
Are you still a little bit unsure of how it works? No worries! Just read this article to find out more about the 4 steps to follow for a successful mapping.
First and foremost:
- How much time is required? Plan 2 hours for the assembly and the creation of your mapping.
- What do I need? 1 computer, 1 projector, 1 projection surface, 1 cable to link your computer to the projector, 1 computer mouse (recommended).
- How much space do I need? With an Kit Olga: a wall hanging surface and a distance of 2 to 3 meters between your projector and the wall (depending on your projector). Do you need more information on projectors? Take a look at our tips.
The 4 key steps of a successful mapping :
1. Your structure or projection surface
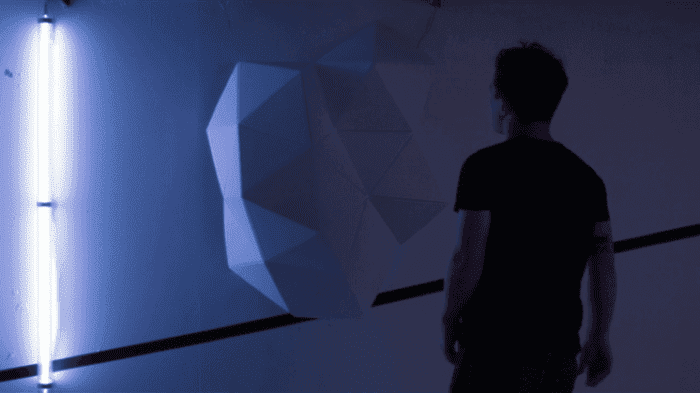
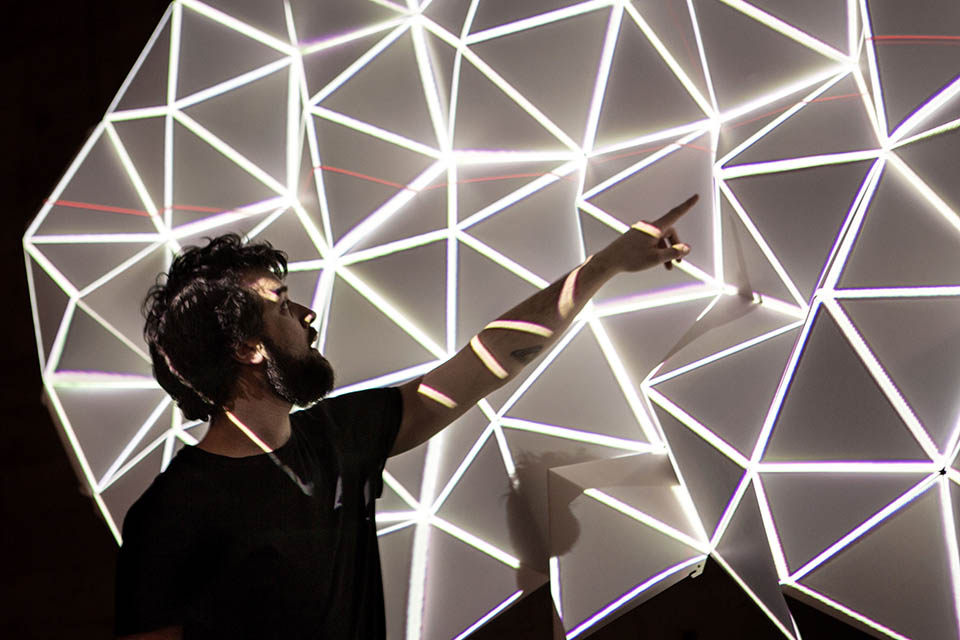
When creating a video mapping, the first step is to decide on the surface you will be projecting on. Follow your imagination: a piece of furniture, an architectural element such as stairs, the facade of your house, a stage decor, a board or one of your own creations. You can also use our Kit Olga. We created this kit which includes several triangles surfaces that were made for video mapping.
2. Positioning your video projector
Your mapping needs to be created under the same conditions as the ones where it’ll be projected and the equipment shouldn’t be moved afterward to make sure there are no shifts or distortions.
Plan the location of your computer and projector ahead. You might need to lift them. Don’t forget people might walk around your installation and secure all cables.
Where to position your video projector?
Depending on your projector’s focal length, its zoom, and its projection angle, you can define the maximum and minimum distance between the projector and the wall. Ideally, the video projector should be placed at the center of the zone you wish to cover, and as close as possible to your projection surface so as to maximize luminosity.
To avoid complicated calculations, we advise you to visit the website called Projector Central. Its guidelines will help you find the best location for your projector.
Is your projector positioned well?
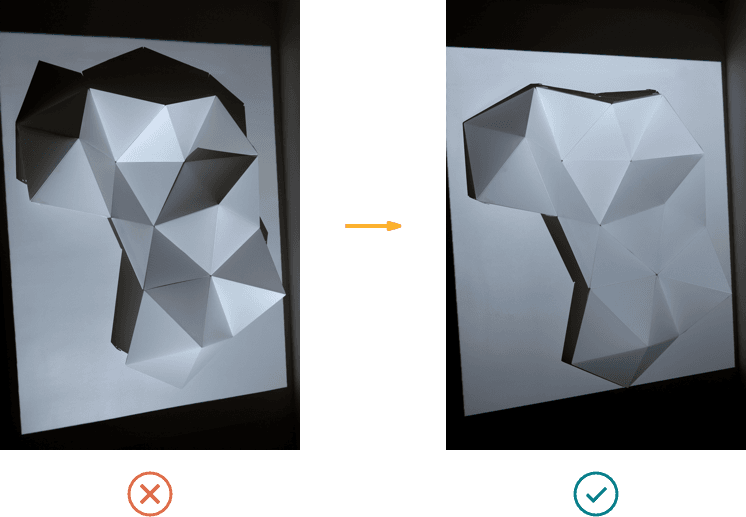
To be sure your projector has been positioned properly, it needs to be on. You can then make sure all pixels are well spread out across your projection surface. They shouldn’t be too distorted. Pay attention to other shapes or objects which might hide your projection surface and create shadows.
Proper placement of the projector allows avoiding unwanted shadows
3. Focusing
Once your equipment has been positioned, you need to adjust the focus on your projection surface. You can do so using your projector’s adjustment wheel. Focus on the largest exposure surface possible. The focus needs to be adjusted to half of the structure’s depth so that the most focused point is placed at the center. You can use your mouse pointer for help.
Adjusting the focus will make your projection sharper
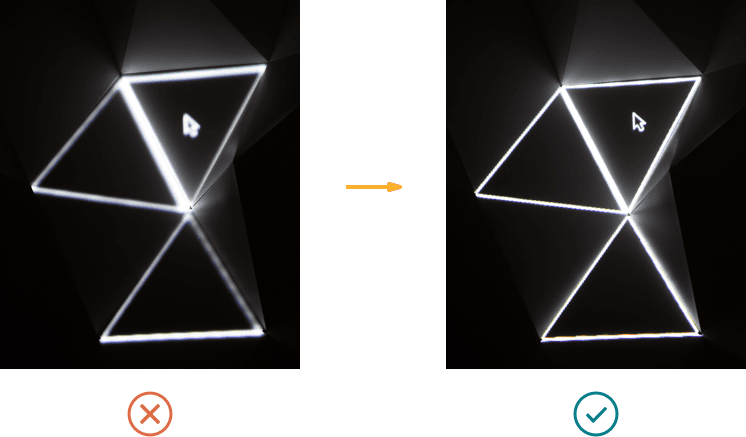
It is crucial to adjust the focus BEFORE you create your mapping. Otherwise, setting the focus would lead to shifting afterward, which means you would have to start over.
4. Mapping
Make sure your structure and your projector DO NOT move once you’ve started creating your mapping.
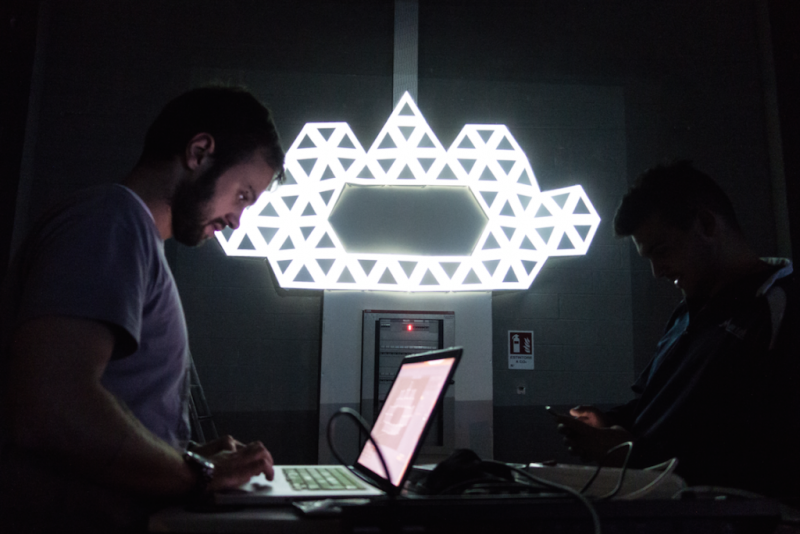
Two things to plan for: sleep mode and your background picture. Set up your computer’s energy settings to make sure your mapping doesn’t stop if your computer goes into energy saving mode.
Similarly, pay attention to the background picture. If a window closes, it is better to have a plain black background picture, both to preserve your audience’s eyes and to avoid showing everyone a family picture!
If you are using a Mac computer, there is an additional setting. Under “Preferences” and “Mission Control”, make sure the box “Displays have separate Spaces” is unticked. Otherwise, a menu bar will stick to the top of your projection display.
Within HeavyM
Now, time for FUN! Using HeavyM, place shapes on the whole mapping surface. Each shape must be adjusted depending on the zones you wish to project on.
Para continuar
Saiba mais sobre projectores
Criámos um guia detalhado para escolher o projector certo para as suas necessidades. Descobrir nossas dicas e erros a serem evitados neste guia que explica as diferentes funcionalidades passo a passo.
Explore o software HeavyM
O HeavyM é um software de video mapping capaz de gerar efeitos visuais e projetá-los em volumes, decorações ou elementos arquitetônicos. O HeavyM é compatível com Mac e Windows.

