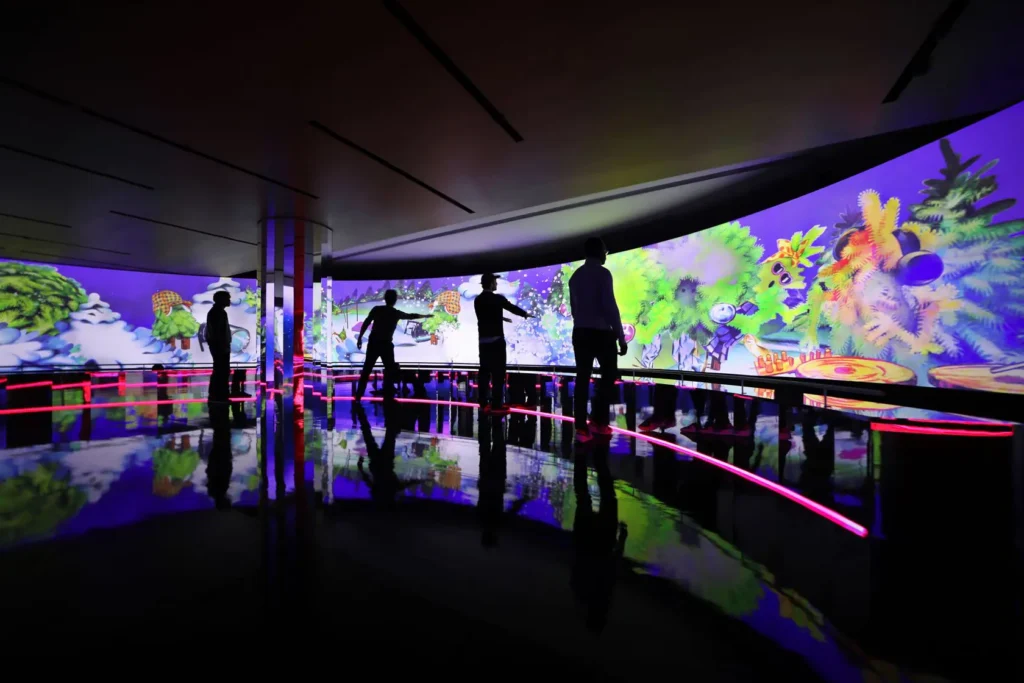
Projection Mapping Education: Complete Guide for Schools
TL;DR
Integrating projection mapping into art and design education transforms static classrooms into interactive environments where students physicalize their digital storytelling. The greatest barrier for educators is fitting complex, node or code-based engineering tools into a short semester without overwhelming beginners and consuming valuable class time with technical troubleshooting. By adopting intuitive, no-code visual software, teachers can bypass steep learning curves and enable students to achieve their first spatial design success in minutes, allowing the curriculum to focus purely on artistic expression.
What Is Projection Mapping in an Educational Context?
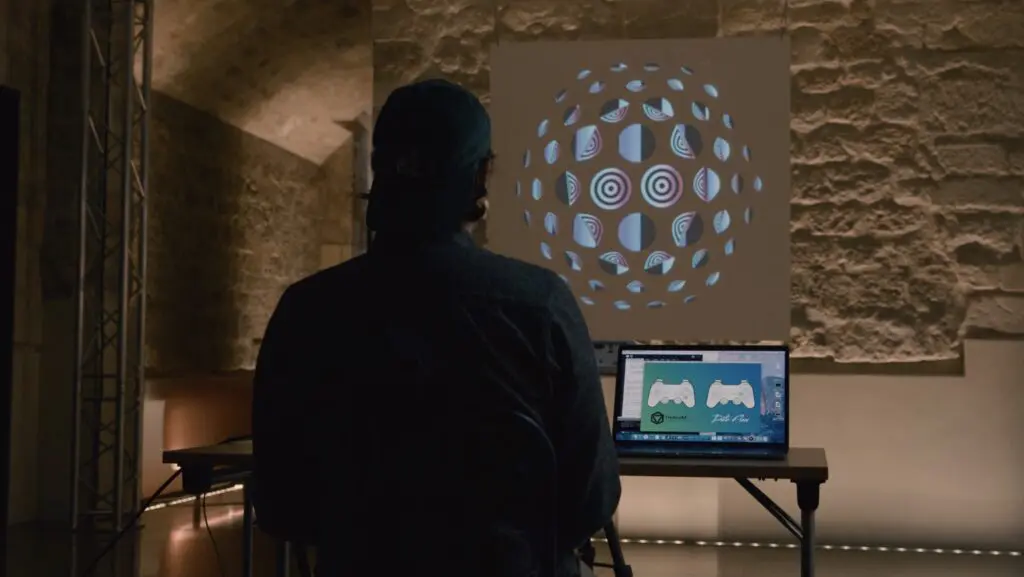
Projection mapping—also known as video mapping or spatial augmented reality—is a technique that aligns digital animations and videos with physical objects to create immersive experiences of motion, depth, and transformation. In classrooms, this video projection technology serves as a powerful bridge between digital art and real-world spatial design, making it increasingly relevant to visual arts, media design, theater technology, and STEM projects.
Unlike professional projection mapping for world class venues and building facades, educational projects typically use 2D and simple 3D mapping techniques. This approach is achievable with standard projectors and student laptops rather than stadium-scale setups requiring media servers and specialized hardware.

Practical Classroom Applications
Consider these concrete examples where projection mapping transforms ordinary surfaces into learning opportunities:
- Architecture students mapping onto 1:20 foam-board building models to visualize facade lighting
- Sculpture classes projecting onto ceramics to explore how light interacts with curved surfaces
- Theater tech programs creating dynamic scenery that responds to performance cues
- Science fair prototypes where data visualization comes alive on physical display surfaces
Why Is Projection Mapping Education Important?
Projection mapping education positions students at the intersection of digital media literacy and real-world spatial design skills. It’s not just about creating stunning visual experiences—it’s about developing creative possibilities that bridge multiple disciplines.
Pedagogical value includes:
- Spatial awareness and intuitive geometry (angles, scale, perspective, surface segmentation)
- Understanding how light, color, and materials interact on any projection surface
- Cross-disciplinary thinking that merges graphic design, animation, music composition, and physical fabrication
- 21st-century competencies: teamwork, project management, creative problem-solving, and technical documentation
Career relevance is surging. Live events, live performances, museums, themed entertainment, advertising, and interactive installations increasingly expect basic mapping literacy. Event planners and experienced professionals now look for portfolios demonstrating these skills, even for entry-level positions.
The Classroom Challenge: Limited Time and Steep Learning Curves
Here’s the reality: most art and design programs operate within 12–15 week semesters, with 2–3 hours of class time weekly. Syllabi are already overloaded. Teachers must balance content creation, conceptual depth, and technical skills—all while keeping students engaged.
Advanced media programs often rely on complex, node-based or code-based tools like TouchDesigner, Max, openFrameworks, Unreal Engine或 Unity. These software programs are powerful, but they may take months or years to master. For specialized interactive media degrees, that investment makes sense.
For general art courses, high schools, and foundation-year students? The results are often frustrating:
- Weeks spent learning interfaces instead of creating
- Frequent technical breakdowns on underpowered hardware
- High disengagement among non-technical learners
- Conceptual depth—storytelling, spatial reasoning—overshadowed by debugging
The key didactic challenge is finding tools that enable a “first-day success moment” while still preparing students for professional workflows.

How to Introduce Students to Spatial Design and Mapping Concepts
Students need conceptual grounding before they start clicking in software. Rushing to technology without understanding projection mapping basics leads to confusion and shallow learning.
Recommended 2–3 session sequence:
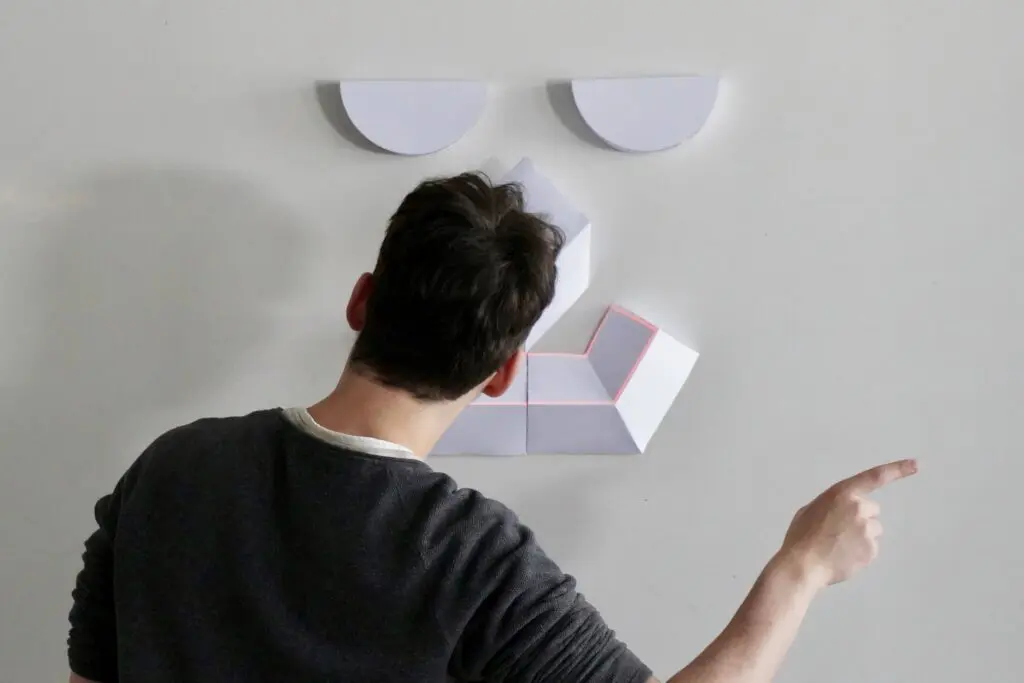
- Paper exercises on perspective drawing and surface segmentation—understanding how shapes translate to 3D forms
- Analog “masking” using printed transparencies placed over physical objects
- First digital mapping demo with immediate visual feedback
Key concepts to define:
- Surface: The projection target (wall, box, sculpture)
- Mask/Shape: Polygons defining where content appears
- Keystone correction: Basic trapezoid distortion fixes
- 2D vs. 3D mapping: Flat masks versus textured models requiring XYZ positioning
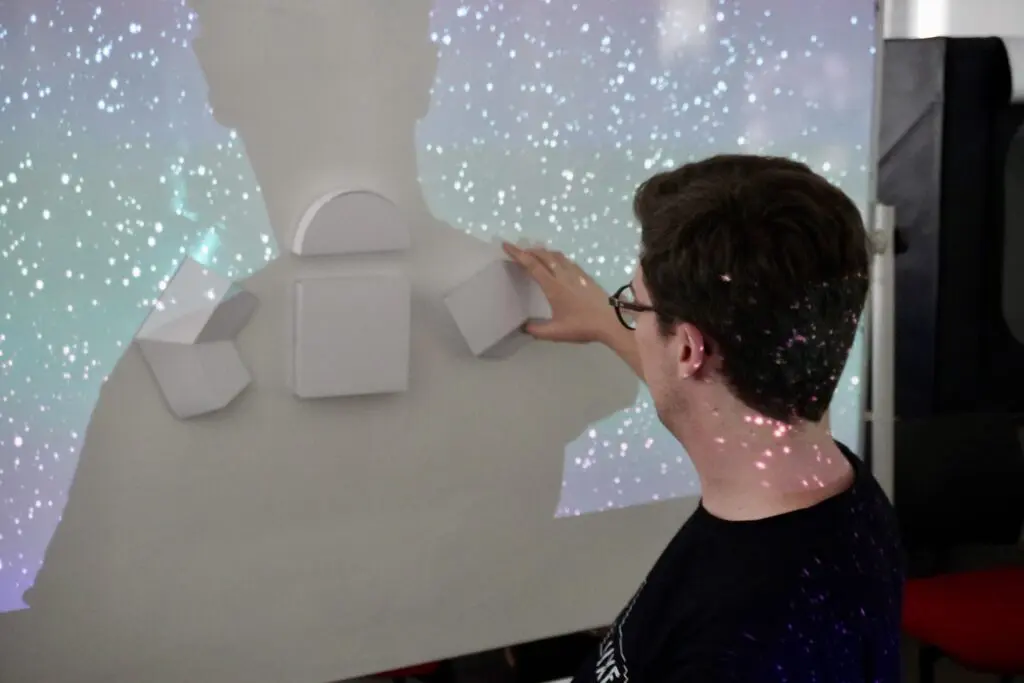
Use physical teaching aids: foam cubes, cardboard building facades, and white miniature stage sets work remarkably well. Start with 2D mapping on flat walls or boxes before introducing complex 3D forms—especially for high school or first-year students learning to map their first projection mapping project.
Setting Up a Projection Mapping Lab on an Educational Budget
Most schools can build a functional mapping lab using existing IT resources. You don’t need stadium-grade equipment to achieve high quality artworks—you need smart planning.
Hardware recommendations:
- Projectors: 1–3 units in the 3,000–5,000 lumen range (standard 1080p LCD or DLP models work well in lit rooms)
- Student laptops: 2018 or newer, 8–16 GB RAM, integrated or dedicated graphics (Windows or macOS)
- Audio: Basic powered speakers for sound-reactive demos
- Projection surfaces: Foam board, white cardboard, 3D-printed models, painted MDF, or plaster casts
Environment considerations:
A small “black box” space or room with good light control dramatically improves perceived brightness. If that’s not available, portable blackout curtains help.
Mounting solutions:
Short-throw projectors on carts, tripods, or ceiling mounts where possible. Gaffer tape and measuring tools ensure repeatable setups across class sessions.
HeavyM runs smoothly on typical student machines and does not require additional media servers or specialized GPU hardware for classroom-scale projects.
Choosing Software: Why No-Code Tools Are Best for General Curriculums
Software choices fall into several categories:
TYPE | EXAMPLES | LEARNING CURVE | BEST FOR |
|---|---|---|---|
Node-based visual programming | Months to years | Advanced CS/interactive media degrees | |
Code frameworks | Requires scripting expertise | R&D, custom installations | |
Compositing tools | Moderate | Pre-rendered content (not live mapping) | |
Dedicated mapping software | Hours to days | General education, live mapping |
Advanced CS or interactive media degrees rightly teach complex, programmable environments that prepare specialists for large-scale installations. That’s appropriate for those contexts.
For broad art, design, and high-school courses, the priority is immediate creative feedback. Students should be able to draw shapes on a model and see them projected within minutes—not weeks.
No-code tools reduce cognitive load, freeing class time to discuss concept development, storytelling, and visual composition instead of debugging patches or scripts. When students learn projection mapping, they should focus on creativity, not technical frustration.

The Ideal No-Code Tool for Projection Mapping Education : HeavyM
HeavyM is purpose-built to be the ideal educational tool because it allows students to achieve professional results requiring absolutely no coding. Instead of spending weeks teaching complex software engineering or 3D masking, educators can rely on an intuitive drag-and-drop interface where students trace physical objects directly from the projector’s perspective. Once mapped, students stay highly engaged by instantly applying over 100 built-in visual effects that adapt automatically to their geometry. The software introduces students to advanced concepts naturally; its native real-time audio reactivity teaches audiovisual synchronization effortlessly, while built-in support for industry-standard protocols like OSC, MIDI, Art-Net/DMX, Syphon/Spout ensures they are perfectly prepared for future careers in professional live events and interactive installations.
For Educators: HeavyM offers educational licensing with multi-seat classroom options, discounts, and lab deployments. Many schools and media labs worldwide have already adopted it, making procurement straightforward.
From Theory to Practice: Designing a Projection Mapping Syllabus
Here’s a sample 6–12 week syllabus adaptable to high school and university formats:
Core modules:
- Sessions 1–2 (Fundamentals): Principles of light, surfaces, and main projection mapping techniques; introduction to HeavyM
- Sessions 3–4 (Content creation): Designing simple loops in 特效之后 或 达芬奇解 决方案; importing to HeavyM
- Sessions 5–6 (Spatial storytelling): Designing narratives or data-driven visuals for physical spaces
- Sessions 7–10 (Group projects): Collaborative installations or mini-festivals within the school
Every week should culminate in a small mapped outcome—one object, one scene, one new effect. This continuous hands-on practice reinforces learning and builds portfolios.
Assessment strategies:
- Project documentation and video recordings
- Reflective journals tracking creative decisions
- Peer critique sessions
- Process over perfection—revision opportunities before final assessment
Encouraging Quick Experimentation and Prototyping
Rapid iteration is central to learning projection mapping. Students learn best by seeing their work projected at full scale—mistakes and all.
Classroom practices:
- “Five-minute prototypes” where students quickly sketch shapes and apply effects
- Weekly “show-and-tell” sessions sharing short mapped experiments
- Low-stakes challenges: map a box with only two colors, or respond visually to a music track
HeavyM’s instant preview and drag-and-drop workflow encourage experimentation. Students can safely try dozens of ideas without breaking a complex patch or losing work to crashes.
Integrate cameras or phones so students capture prototypes from week one. This portfolio-building approach creates lasting impact for future applications and enhances their creative possibilities.
Audio-Reactive Visuals: Connecting Sound and Image in Class
Audio-reactive mapping helps students understand the relationship between music, sound design, and visual rhythm—a critical skill for anyone pursuing live performances or entertainment.
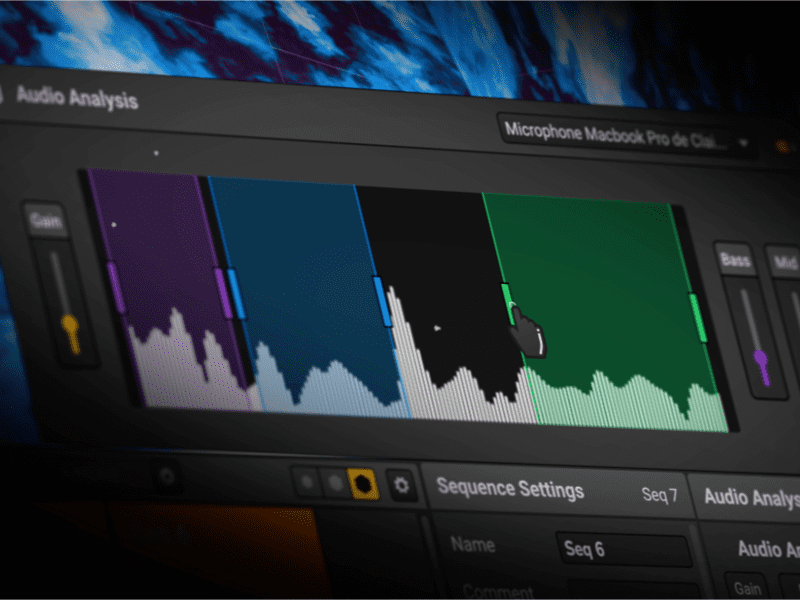
HeavyM has built-in real-time audio reactivity that analyzes live audio from a microphone, mixer, or music player and drives visual effects without any coding required.

Simple assignments:
- Students bring a 60–90 second music clip
- Configure HeavyM’s audio input to respond to beats, volume, or frequency bands
- Design visual behaviors that synchronize with musical dynamics
Keep the technical setup minimal at first—one laptop, one projector, one speaker system. This lets students focus on timing, pattern repetition, and audiovisual synchronization before tackling complex audio routing.
Preparing Students for Professional AV Workflows and Protocols
While HeavyM is no-code and beginner-friendly, it still introduces students to professional ecosystems used in the industry for live events and interactive installations.
Supported protocols:
- OSC: Networked control for multi-device setups
- MIDI: Integrating controllers and musical instruments
- Art-Net/DMX: Synchronizing lighting fixtures
- Syphon/Spout: Video routing between applications
Simple integration exercises:
- Use a MIDI controller to manipulate effect parameters during a performance
- Send audio-reactive visuals from HeavyM to another application via Syphon/Spout
- Control basic RGB lighting via Art-Net/DMX synchronized with a mapped object
This exposure gives students a head start when they later encounter more complex media servers and show control systems as experienced professionals.

Real-World Educational Use Cases and Exhibition Formats
Many schools and universities now stage end-of-semester projection mapping showcases to engage audiences and provide public visibility for student work.
Typical exhibition scenarios:
- Mapping onto campus buildings, interior atriums, or theater sets
- Temporary cubes and sculptures built by students
Example formats:
- A final-night festival where each student group maps a different side of a modular structure
- Cross-department collaboration: music students provide soundtracks, design students handle visuals
- Community events where local audiences walk through multiple small-scale mappings
HeavyM’s stability, real-time control, and no-code workflow make it suitable for student-run shows with limited technical staff. Document exhibitions through photos and videos—these resources attract future applicants and serve as expert advice for program development.
Frequently Asked Questions About Projection Mapping Education
Do students need prior coding or 3D experience? No. With HeavyM’s no-code, drag-and-drop interface, students with zero technical background can start mapping immediately. The software handles complexity behind the scenes.
How long before students can present a first mapping? Within a single 2–3 hour session using HeavyM. Most students achieve their first projected result in under an hour with simple shapes and built-in effects.
Can we run this in a regular classroom? Yes. With controllable lighting and one or two portable projectors, any classroom can become a mapping lab. A dedicated “black box” space helps but isn’t required.
Is the software compatible with existing student laptops? HeavyM runs on laptops from 2018 or newer with 8–16 GB RAM on both Windows and macOS. No specialized GPU hardware required for classroom-scale projects.
What about licensing for schools? HeavyM offers educational pricing and is already adopted in multiple schools and media labs worldwide, making procurement and lab deployment straightforward. This is a great tool for institutions starting their projection mapping programs.
Conclusion: Lowering Barriers, Raising Creative Ambition
Projection mapping education builds highly relevant spatial, technical, and artistic skills while engaging students through immersive, tangible projects. When visual artists and designers see their digital art physicalized on real world surfaces, motivation and retention soar.
The main bottleneck in adoption isn’t hardware—it’s software complexity and teaching time. By choosing intuitive, no-code tools, educators can focus on what matters: developing the next generation of creative professionals who understand how technology enhances storytelling and spatial design.
HeavyM, with its drag-and-drop interface, 100+ built-in effects, real-time audio reactivity, and support for OSC, MIDI, Art-Net/DMX, and Syphon/Spout, is uniquely positioned as the best all-around choice for schools, art programs, and universities. It’s free software to try, making it easy to pilot.
Start small: pilot a mapping workshop with a cardboard model and a standard projector. Within one session, you’ll see students transforming surfaces into dynamic visual experiences—and you’ll understand why this complete guide emphasizes accessible tools that let creativity take center stage.
Stop letting software complexity dictate your syllabus. 下载 HeavyM 免费试用版 today, connect a standard projector in your classroom, and watch your students transform physical objects into digital art in their very first lesson.