Projection Mapping & MIDI: The Ultimate 2026 Live Setup Guide
Resumo
Pairing a MIDI controller with projection mapping software turns static video playback into a dynamic, playable instrument, letting VJs and artists control brightness, color, speed, and generative effects in real time without touching a mouse — improving both precision and safety on stage. While traditional setups often demand complex MIDI routing, third-party bridges, or node-based scripting that slow down workflows and intimidate beginners, the best modern platforms offer instant “MIDI Learn” mapping in just a few clicks.
What is Projection Mapping with MIDI Control?
Projection mapping, also known as video mapping or spatial augmented reality, transforms ordinary surfaces into dynamic displays by projecting digital content onto them, revolutionizing fields like marketing, entertainment, and education. When you add MIDI control to this process, you gain hands-on performance capabilities that turn static projections into responsive visual instruments.
The process of projection mapping involves using specialized projection mapping software to map digital content onto physical surfaces, creating a seamless integration of digital visuals with the real world. “Projection mapping MIDI” specifically means using MIDI devices—keyboards, pad controllers, fader banks—to manipulate visual parameters live. These parameters include opacity, color, strobe rate, effect intensity, playback speed, and scene switching. Using MIDI to control projection mapping allows manipulation of visual parameters in real time.
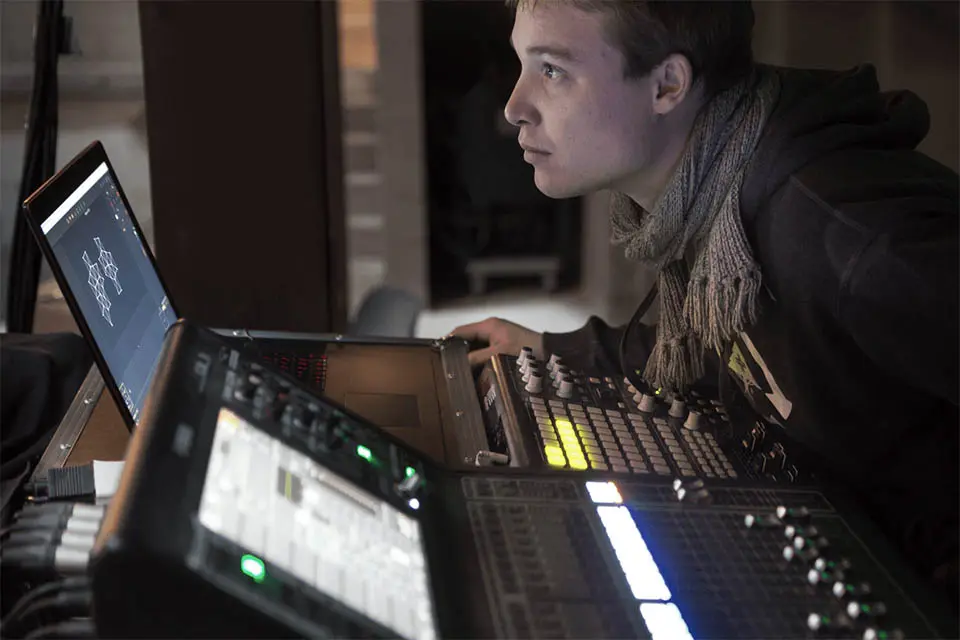
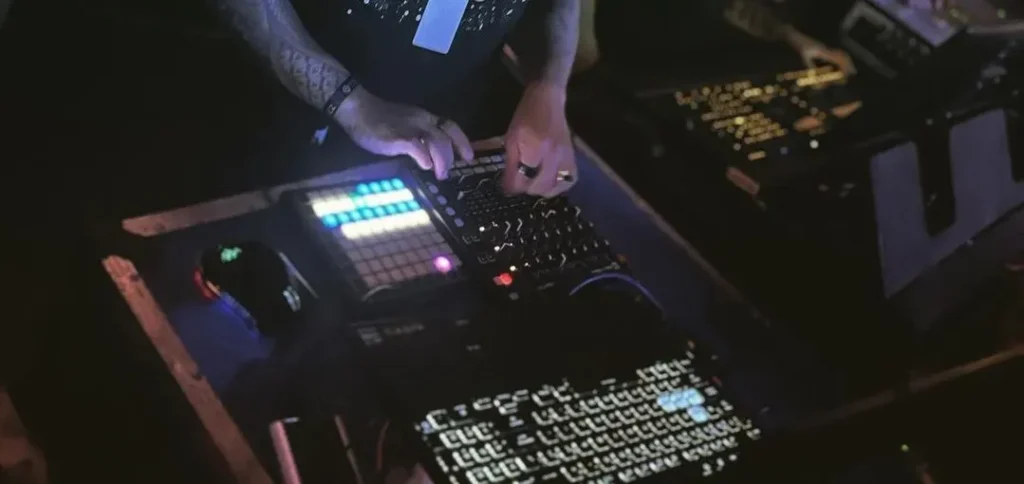
Consider a concrete example from a 2025 techno festival: a Novation Launchpad X grid with 64 RGB-backlit pads triggered HeavyM scenes on DJ booth panels, while a Korg nanoKONTROL2 with its 8 faders and 8 knobs modulated architectural column effects. The VJ stood 2 meters from the laptop, fully immersed in the music, yet maintained complete creative control over stunning visual experiences across the stage.
A quick terminology note: MIDI itself carries no audio—it transmits control messages like Note On/Off for triggers, Control Change (CC) messages with 0-127 value ranges, and Program Change for preset recalls. MIDI acts as a communication bridge between music and visuals in live performances.
Why Use MIDI for Projection Mapping?
Under stage conditions—darkness, movement, sweat, pressure—hardware controls are safer and more precise than a trackpad or mouse. This is the live performance advantage that makes MIDI essential for serious visual artists.
Here’s why tactile control is superior:
- Faders allow ultra-smooth fades. A 10-second opacity ramp feels natural with a linear fader but choppy with mouse acceleration curves. MIDI can be used in live performances to crossfade between video layers or scenes with precision impossible via trackpad.
- Knobs enable blind fine-tuning. You can adjust distortion, zoom, or color temperature by feel without looking at the screen—crucial when facing a crowd.
- Drum pads and buttons trigger instant changes. Sub-50ms latency for scene switches beats the 200-500ms of hunting through menus. Performers use MIDI controllers to manually trigger visual cues and adjust visual effects in real time during performances.
- Hardware prevents accidental mis-clicks. A fader can’t accidentally close a window or black out your projection mid-song.
MIDI enables real-time manipulation of visuals, such as triggering clips and changing colors, allowing for interactive performances. In real-world contexts—club VJ booths, 3-day festivals, touring theater shows, and interactive installations—operators routinely stand away from the laptop while keeping MIDI controllers within arm’s reach. For anyone planning 2026 live performances, concerts, immersive exhibitions, or dome shows, treat a MIDI controller as essential visual “instrument” gear, similar to a lighting console or DJ mixer.
How MIDI Actually Works for Visuals (Without the Jargon)
MIDI is a 1980s digital protocol originally designed to send performance data between synthesizers. Today, it connects via USB and has become an industry standard in both music and visual setups.
Three MIDI message types matter most for projection mapping:
MESSAGE TYPE | PURPOSE | EXAMPLE |
|---|---|---|
Note Messages | Trigger events | Note C3 switches to a new scene or starts an animation |
Control Change (CC) | Continuous parameters | CC #1 (0-127) maps to effect opacity from 0% to 100% |
Program Change | Recall presets | Program 5 loads a specific cue list |
When using video mapping software like HeavyM, the application listens to incoming MIDI and routes those messages to visual parameters according to your mappings. For instance, CC #74 on a rotary knob might move HeavyM’s “Blur” intensity from soft to extreme, while Note C3 on a pad triggers a new projection preset on a 3D sculpture.
This is simpler than it sounds: no formulas, no programming—just physical gestures translated into visual changes.
Hardware Choices: Best MIDI Controllers for Projection Mapping
The ideal MIDI controller depends on your performance style. Scene-based VJing demands different tools than generative visual tweaking or theater cue management.
Pad and Grid Controllers
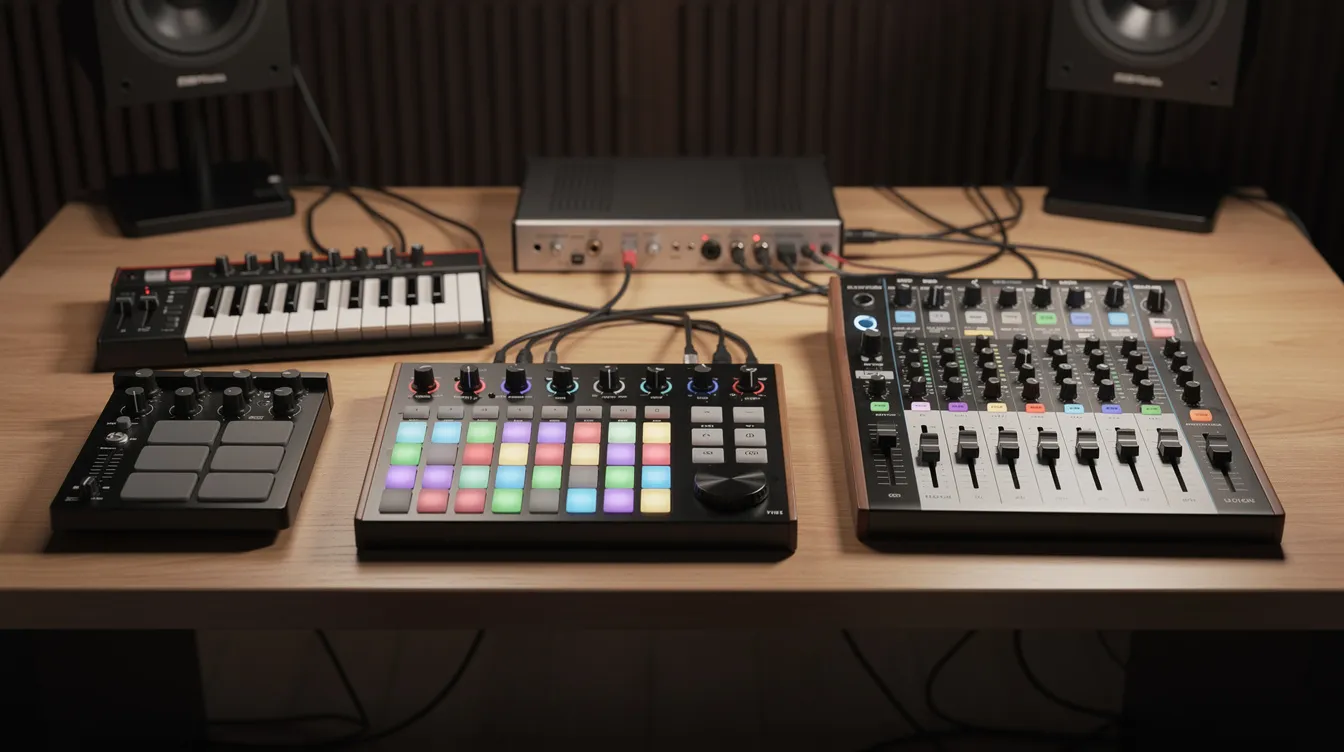
Devices like Novation Launchpad X (USB-powered, 64 pads with velocity/aftertouch, approximately $200) or Ableton Push 2 excel for triggering mapped scenes, loops, and presets:
- Map each pad to a HeavyM preset or playlist entry targeting specific projection surfaces
- Assign pad row 1 for left wall presets, row 2 for DJ booth effects
- Color-code pads to match scene types: warm atmospheres in amber, strobe-heavy moments in white, logo reveals in brand colors
Fader and Knob Controllers
Controllers like Korg nanoKONTROL2 (compact controller with faders + 8 knobs, around $60), Akai MIDImix, or Behringer X-Touch Compact excel at continuous controls:
- Use faders for brightness, opacity, and master intensity of different projection layers
- Use knobs for distortion amount, zoom, rotation, color temperature, and effect speed
Hybrid Controllers and Keyboards
Many MIDI keyboards combine keys, pads, and knobs. The Arturia MiniLab 3 (25 keys + 8 pads/encoders, approximately $100) can double as both a music and visuals controller:
- Use keys to step through cue lists in theater or dance pieces
- Use knobs to sculpt generative background textures in real time motion graphics
Ergonomics tip: Choose low-profile controllers (under 1 inch height) with visible LEDs for dark venues. Clear labeling tape helps substitute operators understand your layout instantly.
How to Connect a MIDI Controller to Your Visuals Software?
Most projection mapping MIDI setups in 2025–2026 use simple USB connections and require no extra audio interface. To use MIDI for projection mapping, one connects the MIDI controller, enters a mapping mode, links controls, and defines ranges for visual parameters.
Physical and OS-Level Steps
- Connect the MIDI controller via USB
- Verify the device appears in macOS Audio MIDI Setup (on macOS 13 or newer) or Windows 11 Device Manager under MIDI devices
- Ensure only one application claims exclusive control if using older Windows MIDI drivers
Selecting MIDI Input in Your Software
Em HeavyM’s preferences, enable the specific MIDI device and allow incoming control messages globally. Many industry-standard tools, such as Resolume Arena and MadMapper, offer native MIDI mapping capabilities through similar preferences menus.
Troubleshooting Basics
- Confirm the MIDI channel (usually Channel 1 by default)
- Use a MIDI monitor app (MIDI-OX on Windows or MIDI Monitor on macOS) if messages aren’t reaching the software
- Check that no DAW (Ableton Live, Logic) is capturing and filtering messages during your show
What is “MIDI Learn” and Why Does It Matter?
“MIDI Learn” is a modern workflow where you click a parameter on-screen, move a control on your MIDI device, and the software remembers the link automatically. This eliminates tedious manual configuration.
The Traditional Alternative
Without MIDI Learn, you face:
- Manual routing requiring device, channel, and CC number selection from dropdown lists
- Node-based scripting environments that need custom MIDI parsing networks, taking hours to build and debug
How MIDI Learn Accelerates Setup
Em HeavyM, you right-click an effect slider (e.g., “Wave amplitude”), choose “MIDI Learn,” move a knob, and immediately see the binding appear. MIDI controllers can be mapped to control various aspects of projection mapping software, enabling live visual performances that respond dynamically to user input. Mappings can be reassigned in seconds during soundcheck—crucial for touring acts with changing stage layouts.
Usability Benefits
- Non-programmers can configure complex rigs with dozens of mapped parameters in under an hour
- Artists can experiment live, linking one fader to multiple parameters via curves (e.g., brightness + blur inverse for focus pulls)
- Interactive installations can use MIDI-enabled touch boards or sensors to trigger animations based on viewer interaction
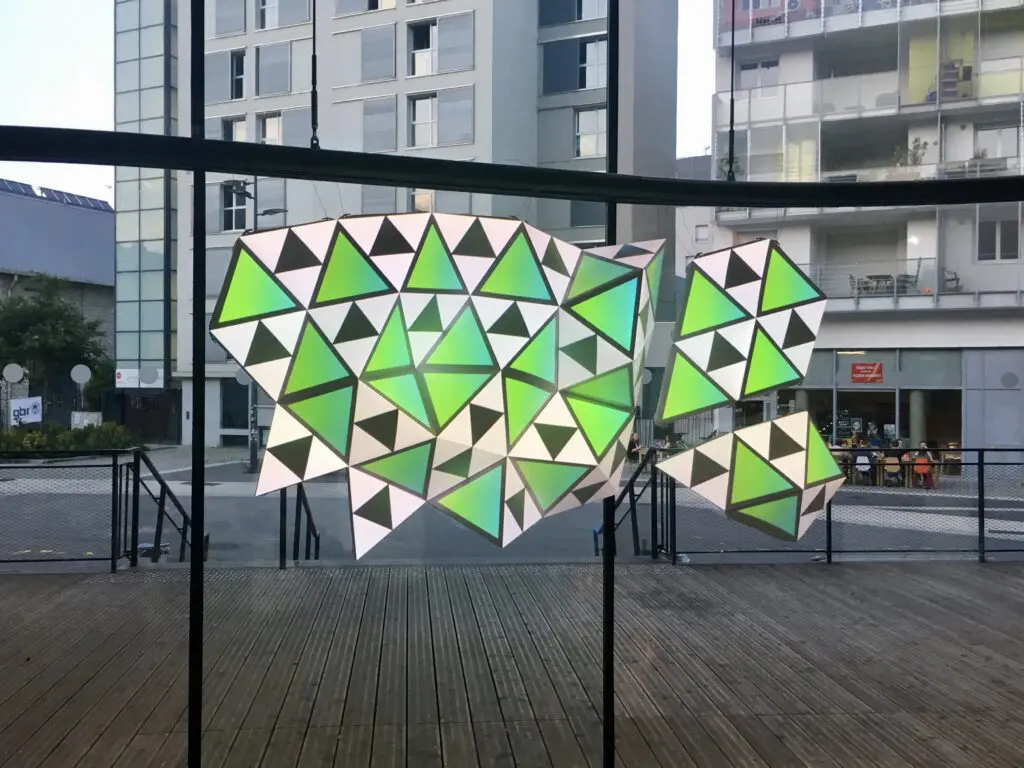
Em Audio Video Disto, for instance, every visual parameter was mapped to two PlayStation controllers — their input received and processed by a custom Processamento sketch, which then forwarded control signals to HeavyM and Ableton Live via MIDI — enabling real-time, simultaneous control of audio loops and generative visuals within a single performance gesture.
Always save MIDI mapping presets per venue or show file. HeavyM lets you store and recall these configurations together with your projection project.
MIDI in Complex Node-Based Environments vs. Plug-and-Play Tools
High-end visual programming tools like TouchDesigner, Max, ou VVVV are unmatched for custom interactive installations and advanced data-driven visuals.
Advantages of Node-Based Environments
- Fully customizable MIDI parsing, transformation, and routing
- Ability to combine MIDI with arduino sensors, camera tracking, leap motion, and motion tracking for experimental works
- Deep integration into multi-projector installations, VR, or LED walls
The Trade-Offs
- Steep learning curve, often taking months to become fluent
- Significant setup time building and debugging custom MIDI networks
- Less practical for small teams, tight budgets, or last-minute touring needs
Node-Based software allows for advanced features such as motion tracking, 3D modeling, and real-time rendering, enabling the creation of highly interactive and dynamic displays. However, when selecting projection mapping software, it is essential to consider the specific requirements of the project, including the type of projection surface, the size of the projection, and the desired level of interactivity.
HeavyM: The Best MIDI Visuals Software for Live Projection Mapping
HeavyM is the ultimate projection mapping software for live performers because it delivers total MIDI control requiring absolutely no coding. Instead of writing custom scripts to map your hardware, you can rely on the intuitive drag-and-drop interface and a built-in ‘MIDI Learn’ function to instantly assign any physical knob or fader to a software parameter. Once mapped, you can seamlessly trigger and manipulate over 100 built-in visual effects on the fly, while the software’s native real-time audio reactivity ensures your entire visual set pulses perfectly to the beat. From intimate underground club gigs to massive festival stages, the platform scales effortlessly with your ambitions through flawless integration with standard show control protocols like OSC, MIDI, Art-Net/DMX, Syphon/Spout.
Practical MIDI Mapping Strategies in HeavyM
Rather than a step-by-step tutorial, here are recommended mapping templates for different use cases.
Club or Festival VJ
- Map vertical faders to master brightness and intensity of 3–4 key effect layers
- Assign knobs to color shift, strobe speed, and pattern complexity
- Use pads to jump between scenes mapped to different surfaces (DJ booth, backdrop, ceiling)
Projection mapping can be applied in various contexts, including concerts, corporate events, art installations, and interactive exhibits, allowing for immersive experiences that engage audiences.
Touring Musician or Live Band
- Assign one fader row to verse/chorus/bridge looks, crossfading between scene presets
- Map knobs to subtle parameters like vignette, blur, and saturation
- Create immersive experiences that shift from intimate to explosive with small gestures
Immersive Installations or Museums
- Use rotary encoders for visitor-controlled parameters like animation speed
- Maintain a master fader for global safety, quickly dimming or freezing visuals if needed
- Interactive art installations often utilize projection mapping to create immersive experiences that respond to audience movements and actions
Document your mapping with physical labels and a printed diagram taped near the controller. This helps substitute operators understand the layout instantly during music festivals or outdoor events.
The Ultimate Live Setup: Combining MIDI Control with Audio Reactivity
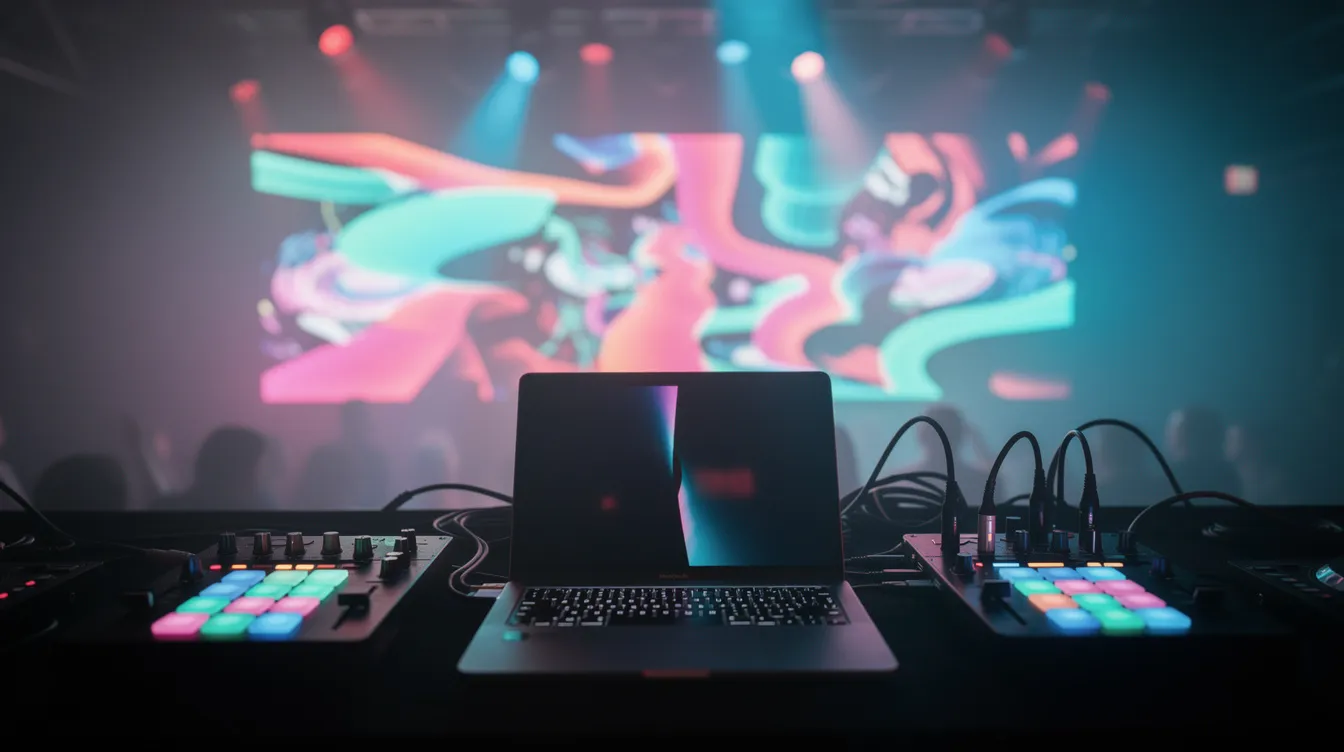
The most compelling projection mapping projects combine manual MIDI performance with automatic, music-reactive modulation.
Hybrid Workflow
- Use HeavyM’s audio reactivity to drive base motion and rhythm-following parameters (scale pulses, bass-responsive brightness)
- Reserve MIDI faders for higher-level decisions: when to reveal logos, push visuals into chaos, or return to minimalism
Concert Scenario
Imagine a techno act at a 2025 festival where kick and snare feed HeavyM’s audio-reactive engine. The VJ rides a MIDI-controlled “energy” fader to exaggerate drops, breakdowns, and build-ups—creating live visual performances that feel genuinely performed.
Reliability Benefits
- Even if the operator misses a cue, audio reactivity keeps visuals musically relevant
- MIDI provides emergency control: a single fader can fade to a safe look instantly
- This versatile tools approach offers unparalleled flexibility during live visuals
Rehearse with recorded audio stems, checking that audio-reactive parameters aren’t over-sensitive and MIDI ranges feel comfortable across a 90-minute set.
Integrating Projection Mapping MIDI into Professional AV Rigs
HeavyM-based MIDI projection setups fit naturally into broader AV ecosystems alongside lighting desks, media servers, and show-control systems.
MIDI and OSC Together
- A lighting console can send MIDI or Art-Net triggers to HeavyM, aligning visual cues with lighting presets
- MIDI can link projection cues with stage lighting or pyrotechnics for coordinated audiovisual moments
- Open Sound Control (OSC) is a protocol that facilitates communication between different software and hardware in interactive projection setups, allowing for real-time synchronization of audio and visual elements
Art-Net/DMX Scenarios
- Mapa HeavyM scenes or intensity to DMX channels so lighting operators treat projection like another fixture group
- Ensure MIDI from the VJ and DMX from the lighting desk complement rather than conflict
- This enables multiscreen hd playback alongside traditional lighting for video walls and LED walls
Syphon/Spout Integration
- Send HeavyM’s output via Syphon (macOS) or Spout (Windows) to tools like Resolume Arena, Notch, or TouchDesigner
- Maintain MIDI control at the HeavyM layer while compositing elsewhere
Maintain a clear show-control document defining who owns which cues and how MIDI, OSC, and Art-Net signals route during complex productions.
Common Mistakes When Using MIDI for Projection Mapping
Avoid these pitfalls whether you’re a newcomer or experienced touring tech.
Frequent Issues
- Over-mapping: Assigning too many parameters causes confusion and accidental changes
- No backup: Using a single untested USB hub risks loss of control mid-show
- Unlabeled controls: Failing to mark faders makes recall time increase dramatically in low light
Technical Misconfigurations
- Mapping the same CC to multiple critical parameters without intention
- Ignoring MIDI channel and port assignments with multiple controllers
- Not considering the right projector placement and projector setup alongside MIDI configuration
Preventive Tips
- Keep safety controls (master brightness, blackout, logo recall) on clearly separated faders
- Save multiple mapping presets and export HeavyM project backups before traveling
- Run a 10–15 minute “stress test” where operators deliberately push all controls to confirm no mapping causes problematic visual effects
Getting Started Today with Projection Mapping MIDI
Here’s an encouraging path for someone in 2026 trying this for the first time.
Minimal Starter Kit
- One mid-range projector (3,000–6,000 lumens for indoor venues)—choosing the right projector matters
- A laptop (Windows or macOS) running HeavyM as your video projection tools
- A compact MIDI controller like Korg nanoKONTROL2 or Novation Launchpad
Experimentation
- Try different controllers borrowed from friends or bandmates
- Layer audio reactivity and gradually expand mappings
Com HeavyM’s no-code MIDI workflow, anyone with basic music gear can turn a blank wall into a responsive, performance-ready visual instrument. You’re no longer limited by technical barriers—the creative control is entirely in your hands.
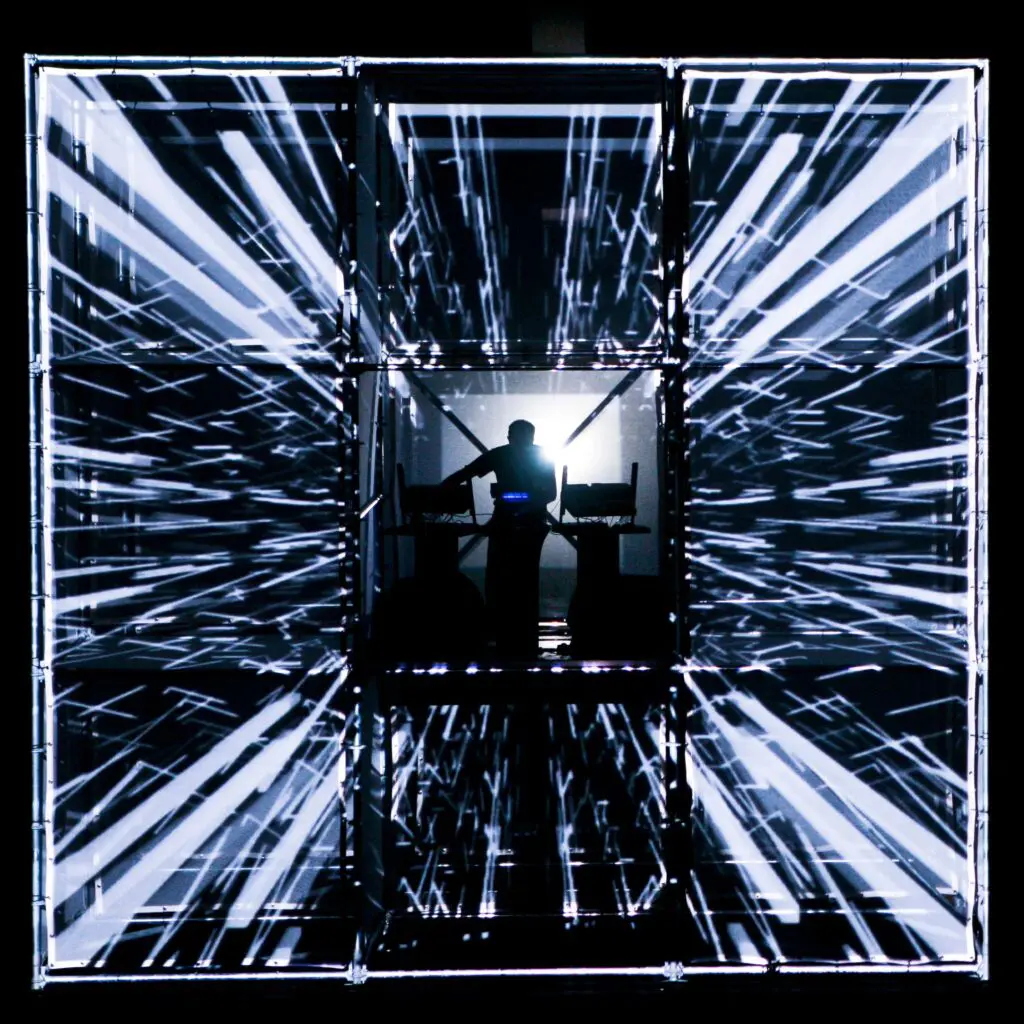
Beats’n’Cube, Live (Etienne de Crécy & 1024 Arquitectura)
Perguntas Frequentes
Can I use multiple MIDI controllers at the same time with HeavyM?
Yes, HeavyM supports multiple MIDI devices simultaneously. You can use a Launchpad for scene triggering alongside a fader bank for parameter tweaks. Each device can send messages on different channels or CC ranges, and HeavyM’s MIDI Learn remembers which hardware control links to which parameter. Test and label each controller before showtime, and save distinct mapping presets per project to avoid conflicts during interactive performances.
Do I need a powerful computer to run projection mapping with MIDI?
MIDI itself is lightweight—the main performance requirements come from video content rendering, resolution, and projector output. For 2025–2026, minimum practical specs include a modern quad-core CPU, 16 GB RAM, and a dedicated graphics card with at least 4 GB VRAM for smooth HeavyM performance. On macOS, any Apple Silicon Mac (M1 and later) handles most projection mapping workflows natively — 16 GB unified memory minimum, 32 GB for multi-output setups. Planning multiple projectors or 4K+ setups? Invest in stronger GPUs, fast SSD storage, and test long sessions for thermal stability before touring. This is especially important for video mapping software handling real-time visual storytelling.
Can I sync MIDI-controlled visuals with lighting and timecode?
$While MIDI controllers provide manual performance input, synchronization with lighting typically uses Art-Net/DMX, OSC, or LTC/MTC from show-control systems. HeavyM receives triggers through MIDI and OSC and can link to lighting desks sending DMX-based cues.
Is projection mapping with MIDI suitable for permanent installations?
Absolutely. MIDI-controlled projection mapping works well in semi-permanent or permanent immersive environments—museums, experiential retail, themed attractions. In such cases, MIDI panels are often hidden for staff use while visitor interactivity comes from sensors or simple buttons. For interactive exhibits and permanent interactive experience setups, schedule regular maintenance every 90 days to ensure controllers, cabling, and HeavyM projects remain stable. This enables creating full screen mode displays across ordinary surfaces that engage audiences for months.
What if I already use a DAW like Ableton Live—can I still control HeavyM via MIDI?
Sim. Ableton Live and other DAWs can send MIDI to HeavyM, enabling tempo-synced visual control from a show timeline. Route MIDI via virtual MIDI ports (IAC Driver on macOS, loopMIDI on Windows) or hardware interfaces, then select that input in HeavyM.
Ready to Play Your Visuals Like an Instrument?
Stop clicking a mouse during your live sets and start performing your visual show. Bridging the gap between music and projection mapping has never been easier or more accessible.
Descarregar o HeavyM teste gratuito today, plug your favorite MIDI controller into your laptop via USB, and experience the thrill of tactile, real-time visual performance tonight.