

プロジェクションマッピングの予算と機材
要約
プロジェクションマッピングを始めるには、コンピュータ、デジタルプロジェクター、プロジェクションマッピングソフトウェアという3つの基本的な機材が必要です。予算は、エントリーレベルの家庭用セットアップで数百ドル程度から、プロ仕様の屋外用機材では数千ドルまで幅があります。HeavyMのような、手軽で初心者にも使いやすいソフトウェアを使用すれば、高品質な映像効果を実現しつつ、総コストを抑えることができます。.
どのくらいの予算を見込むべきか?
趣味として始め、空き時間にプロジェクションマッピングを楽しみたいとお考えですか?それとも、プロとして活動することを視野に入れ、高品質な機材に投資し、学習や練習に多くの時間を費やすことを検討されていますか?
また、大規模なプロジェクションマッピングのインスタレーションを制作する予定ですか、それとも、まずは小規模で親しみやすいプロジェクトから始めたいとお考えですか? これらの要因は、大きな影響を及ぼす可能性があります プロジェクションマッピングを始めるために必要な予算.
趣味として
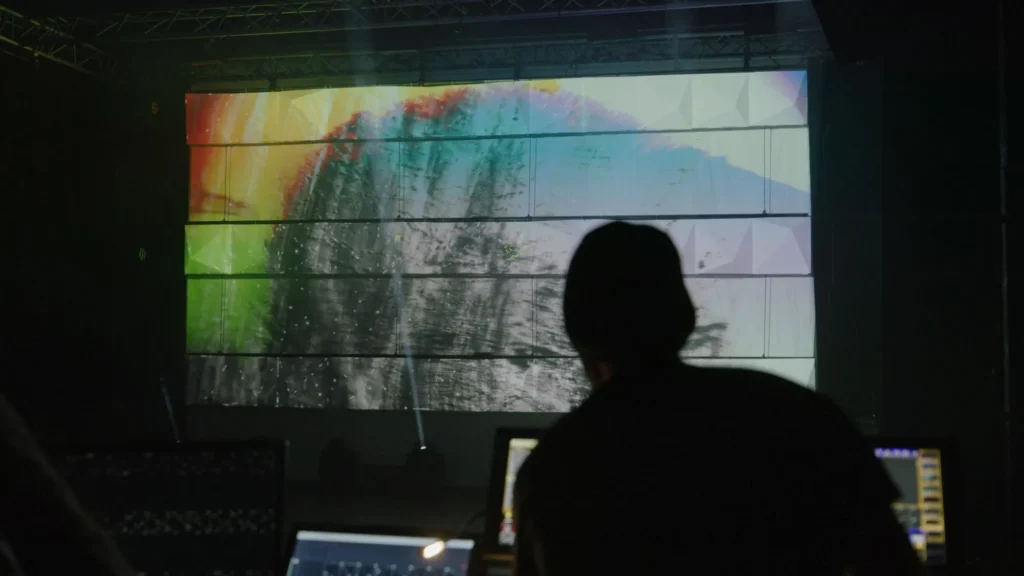
趣味でプロジェクションマッピングを始めたばかりの方は、次のようにすることができます。 比較的控えめな予算から始める. 主な費用はプロジェクターになるでしょう。というのも、パソコンに ゲーム向けグラフィックボード. エントリーモデルのプロジェクターなら、数百ユーロ程度で購入できます, 、とはいえ、一般的に高価なモデルほど画質や明るさは優れています。.
プロジェクションマッピングソフトウェアは数多くあり、その中には一般ユーザー向けに無料または低価格で利用できるものもあります。 また、ソフトウェアの使い方を学び、独自のマッピングを作成するために時間を費やす必要もあります。まとめると、趣味で楽しむ方であれば、1000~2000ユーロ程度の予算から始めることができるでしょう。.
プロフェッショナルとして
もし~をする予定なら プロによるプロジェクションマッピング, 、それにはさらに多くの資金を投入する必要があります。 高品質な機器を導入する. プロ仕様のプロジェクターは、求める明るさや画質によっては、数千ユーロもする可能性があります。また、 高性能なパソコンが必要だ プロジェクションマッピングソフトウェアを動作させるには、さらに数千ユーロの費用がかかる可能性があります。.
プロ向けのプロジェクションマッピングソフトウェアは、価格が高めになる場合もありますが、一部の製品では、特定のプロ向け機能が省かれた無料版や低価格版が提供されており、後からプロ向けライセンスを取得することでそれらの機能を有効化できるものもあります。機材に加えて、以下の費用も必要になります プロジェクションマッピングの技術を習得するためにかなりの時間を費やした そして、独自のマッピングを作成すること。プロの場合、次のようなことが期待できます。 立ち上げに5,000~10,000ユーロを費やす, 、あるいは大規模な導入を計画している場合は、それ以上になることもあります。.
基本装備
- プロジェクター: これはプロジェクションマッピングに欠かせない要素です。プロジェクターの性能、明るさ、解像度は、プロジェクションマッピングの品質に直接影響します。.
- コンピュータ: プロジェクションマッピングソフトウェアを実行できるコンピュータが必要です。高解像度の画像や動画を処理できるだけの性能を備えている必要があります。つまり、一般的に、高性能なグラフィックカード、十分なRAM、そして高速なプロセッサが求められます。.
- プロジェクションマッピングソフトウェア: プロジェクションマッピングソフトウェアには、無料のものも有料のものもいくつかあります。人気のあるものとしては、HeavyM、Resolume、Millumin、Madmapperなどが挙げられます。どのソフトウェアを選ぶかは、予算だけでなく、個人の好みやプロジェクションマッピングプロジェクトの複雑さにも左右されます。.
- ビジュアルコンテンツ: プロジェクションマッピングするにはコンテンツが必要です。これには、動画、アニメーション、画像などが含まれます。これらのコンテンツは、自分で作成することも、オンラインで探すこともできます。一部のプロジェクションマッピングソフトウェアには、シェーダー(これについては後で説明します)など、利用可能なコンテンツのライブラリが付属しています。.
- 投影面: 最後に、画像を投影するための面が必要です。これは、建物、構造物、スクリーン、模型、あるいはその他の立体的な面であれば何でもかまいません。.
コンピュータ
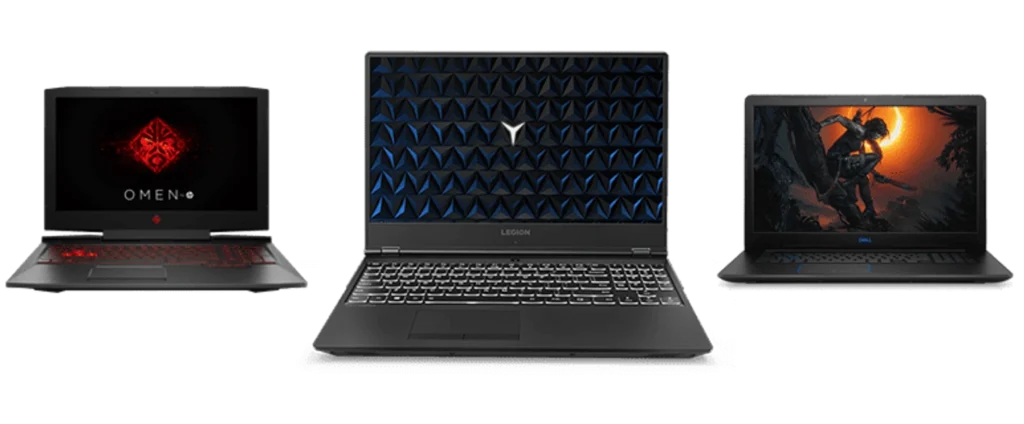
- プロセッサ(CPU): プロセッサはコンピュータの「頭脳」であり、あらゆる演算処理を担います。プロジェクションマッピングを行うには、リアルタイムレンダリングや動画のデコードを処理するために高速なプロセッサが必要となります。特に高解像度の映像を扱う場合はなおさらです。クアッドコアプロセッサの使用をお勧めします。.
- グラフィックスカード(GPU): プロジェクションマッピングにおいて、グラフィックカードはグラフィック要素のレンダリングやリアルタイムの視覚効果を処理するため、極めて重要です。VRAMが少なくとも2 GB搭載された専用グラフィックカードを選ぶようにしてください。ただし、最適なパフォーマンスを得るためには、4 GB以上が望ましいです。.
- メモリ(RAM): RAMはコンピュータの短期記憶です。RAMの容量が大きければ大きいほど、コンピュータはより多くのタスクを同時に処理できるようになります。プロジェクションマッピングを行う場合は、少なくとも8 GBのRAMを確保することを目指すべきですが、最適なパフォーマンスを得るためには16 GB以上が推奨されます。.
- ストレージ: 動画ファイルやその他のビジュアルコンテンツを保存するには、十分なストレージ容量が必要です。従来のハードドライブに比べて読み書き速度が速いため、SSDの使用をお勧めします。必要な容量は保存するコンテンツの量によって異なりますが、最低でも512 GBを推奨します。.
- コネクティビティ: プロジェクターや、その他使用する予定の機器を接続するのに十分なポートがコンピュータに備わっていることを確認してください。これには、HDMI、DisplayPort、USBポートなどが含まれます。.
ソフトウェア
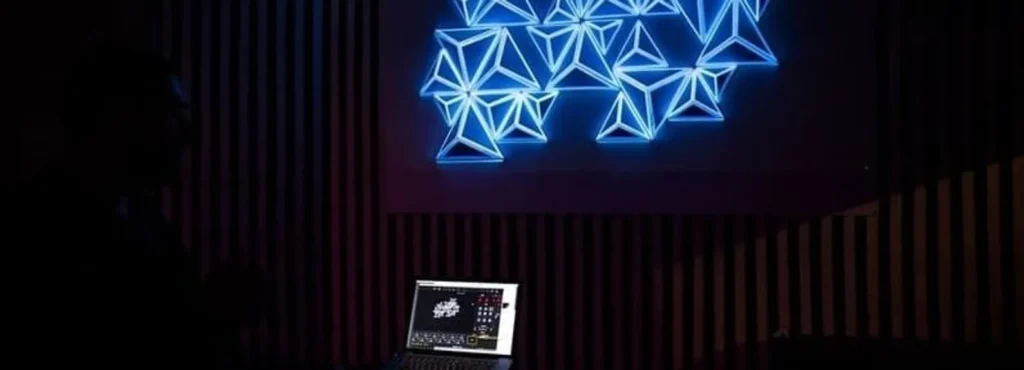
経験レベルやプロジェクトの内容に応じて、さまざまなソフトウェアの選択肢があります。ここでは、最も使いやすいものから、多彩な機能を備えた最も複雑なものまで、主なプロジェクションマッピングソフトウェアを、すべてを網羅しているわけではありませんが、いくつか紹介します。.
- HeavyMの使用例: 専門家でなくてもプロジェクションマッピングを作成するのに最適です
- マッドマッパー: 既存のあらゆるプロトコルを相互に接続するための万能ツール
- ミルミン: ダンスや演劇などのライブパフォーマンスに適しています
- レゾリューム・アリーナ: 高度なVJing機能を提供
- SMODE: リアルタイム高解像度ビジュアル制作プラットフォーム
- タッチデザイナー: 高性能なノードベースのグラフィックエンジン
プロジェクター
プロジェクターは、プロジェクションマッピングの設置を成功させる上で欠かせない中心的存在です。プロジェクターは、デザインに命を吹き込み、さまざまな表面や形状にアイデアを投影することで、ありふれた空間をダイナミックな芸術作品へと変貌させるツールなのです。. 高品質なプロジェクター これにより、画像が鮮明で鮮やかな仕上がりになるだけでなく、作業対象の表面にぴったりとフィットするようになります。これは、プロジェクションマッピングが目指す「現実感」を生み出す上で極めて重要な要素です。この素晴らしいツールの詳細や、プロジェクトに適したツールの選び方についてもっと知りたい方は、こちらをクリックしてください。 これ プロジェクターの技術的な詳細について掘り下げ、プロジェクションマッピングをさらに高いレベルへと引き上げる方法を探ってみましょう。.
続きを読む
このガイドは、以下の著者によって執筆されました。 HeavyMの使用例, 、2013年からプロジェクションマッピングを専門とする企業です。.
ご質問、ご意見、アドバイスなどございましたら、こちらの問い合わせフォームをご利用ください: https://help.heavym.net/hc/requests/new. 24時間以内に必ずご返信いたします。.
よくある質問(FAQ)
プロジェクションマッピングを始めるには、どのような機材が必要ですか?
プロジェクションマッピングを始めるには、標準的なノートパソコン(WindowsまたはMac)、HDMI入力端子を備えたデジタルプロジェクター、映像ケーブル、そして映像の位置合わせを行うためのHeavyMのような専用のプロジェクションマッピングソフトウェアさえあれば十分です。.
プロジェクションマッピングのセットアップにはどれくらいの費用がかかりますか?
それは、あなたの目標次第です。小規模な屋内プロジェクト向けの入門用セットアップなら、$1,000未満(基本的なプロジェクターを含む)で済みます。一方、大規模なアーキテクチャ・マッピング向けのプロ仕様のセットアップには、高ルーメンのプロジェクターが必要となり、その費用は$10,000以上になることもあります。.
プロジェクションマッピングを行うには、高価なゲーミングPCが必要ですか?
必ずしもそうとは限りません。高性能なグラフィックカード(GPU)は複雑な3Dアニメーションのレンダリングに役立ちますが、HeavyMのような使いやすいソフトウェアは、一般的な最新のノートPCでもスムーズに動作するよう高度に最適化されているため、最高級のゲーミングPCを購入する必要はありません。.